Saturday, May 14, 2011

UPDATE!

I've become uncomfortable with how long its been since my last update and to remedy this I've decided to throw a smattering of project photos in your face!


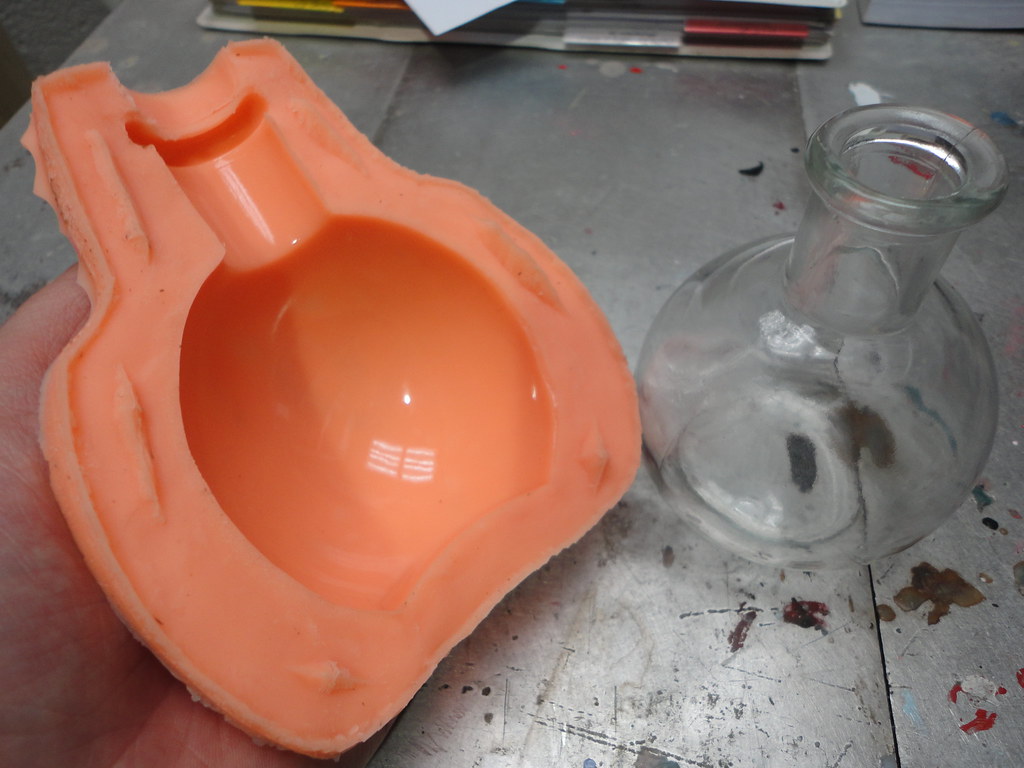
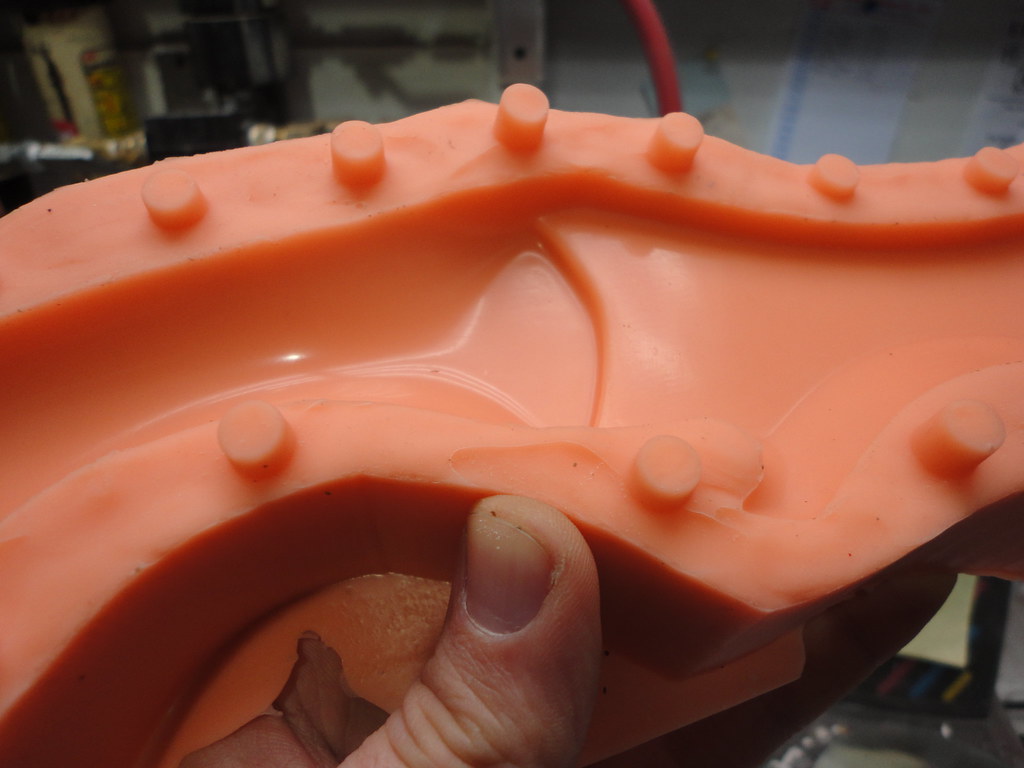
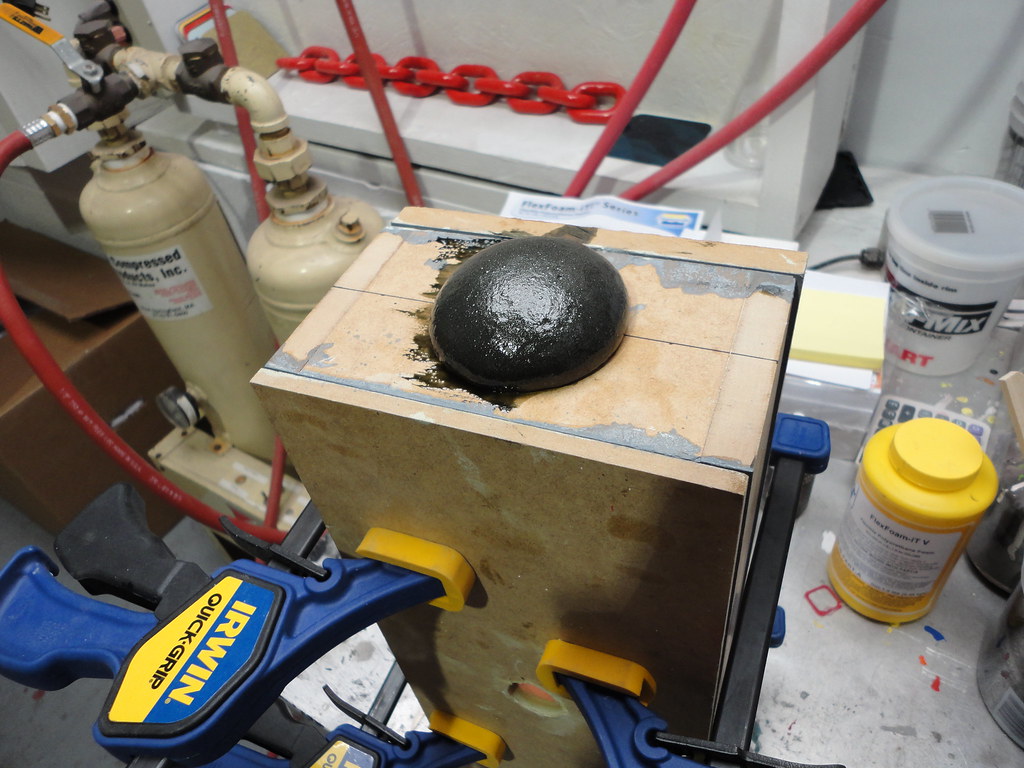
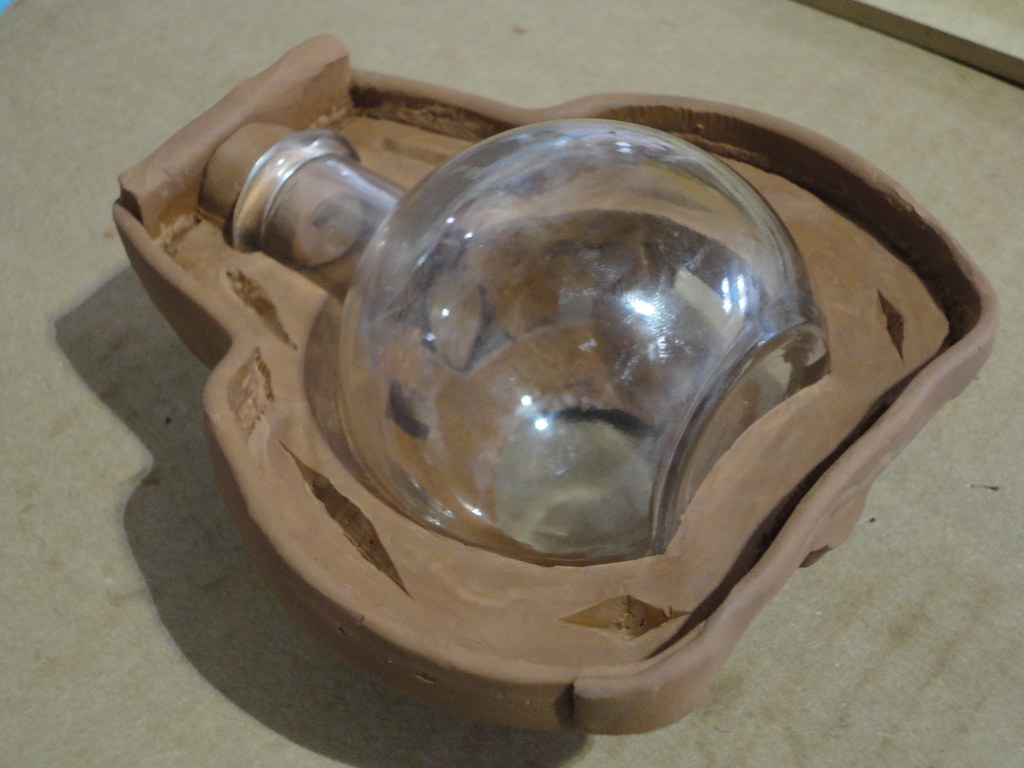
Here's the beginning of a mold for an Alchemy bottle rep.


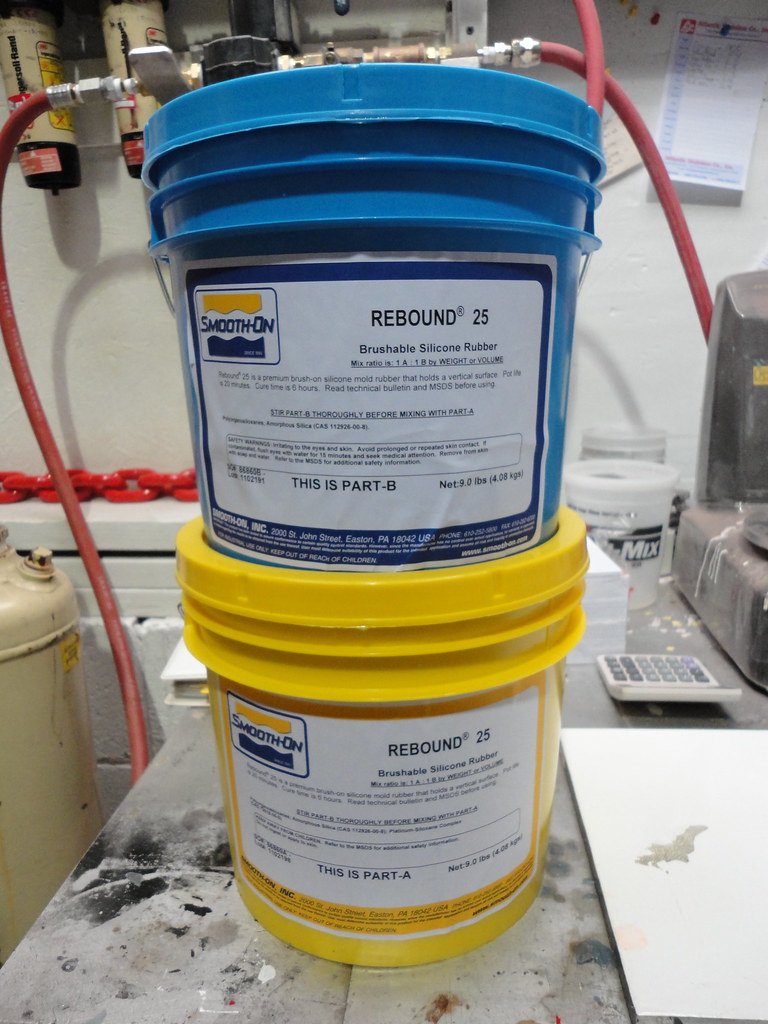
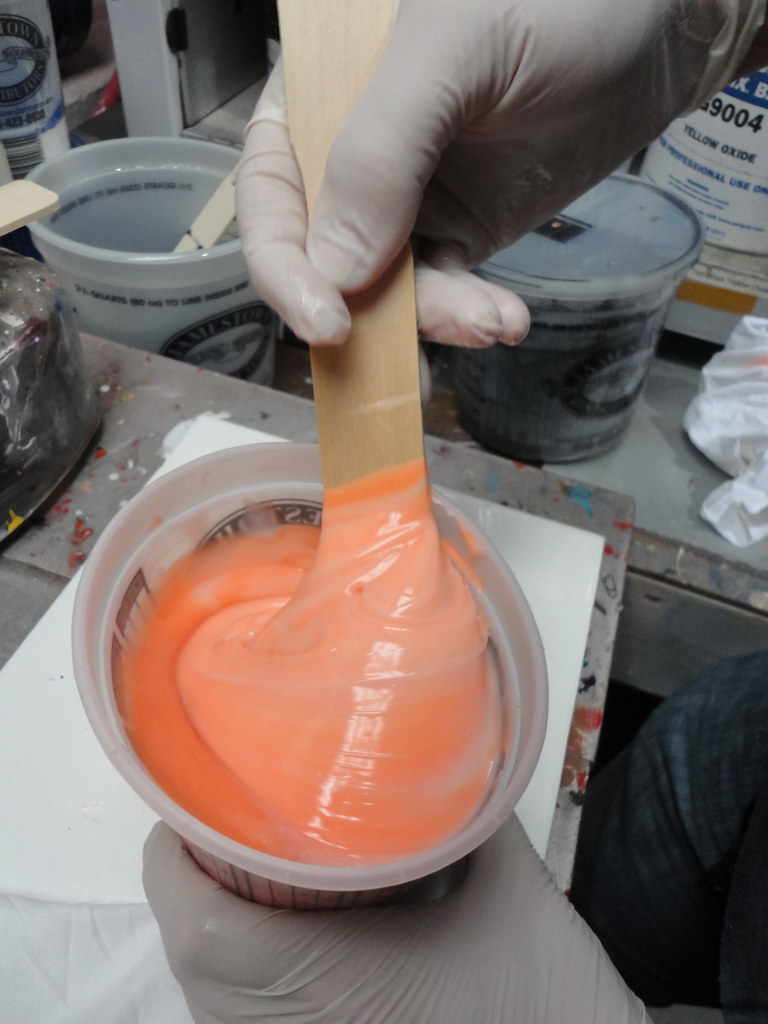
Yum, silicone.


First half done.  (The second half is also done, no photos yet)


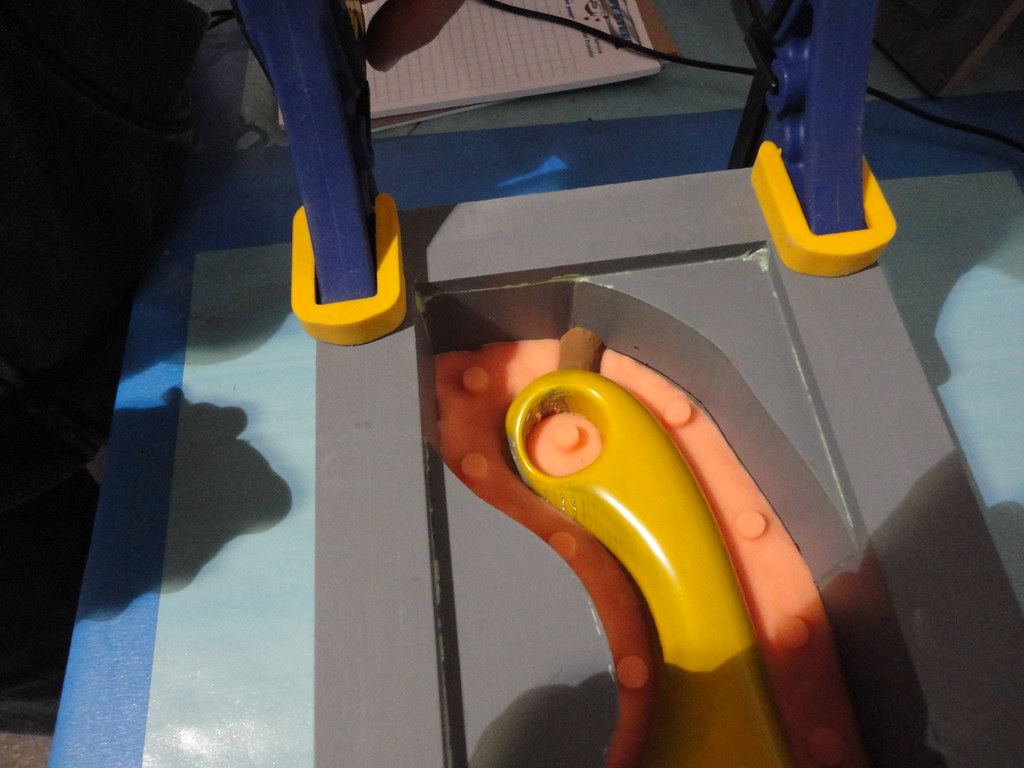
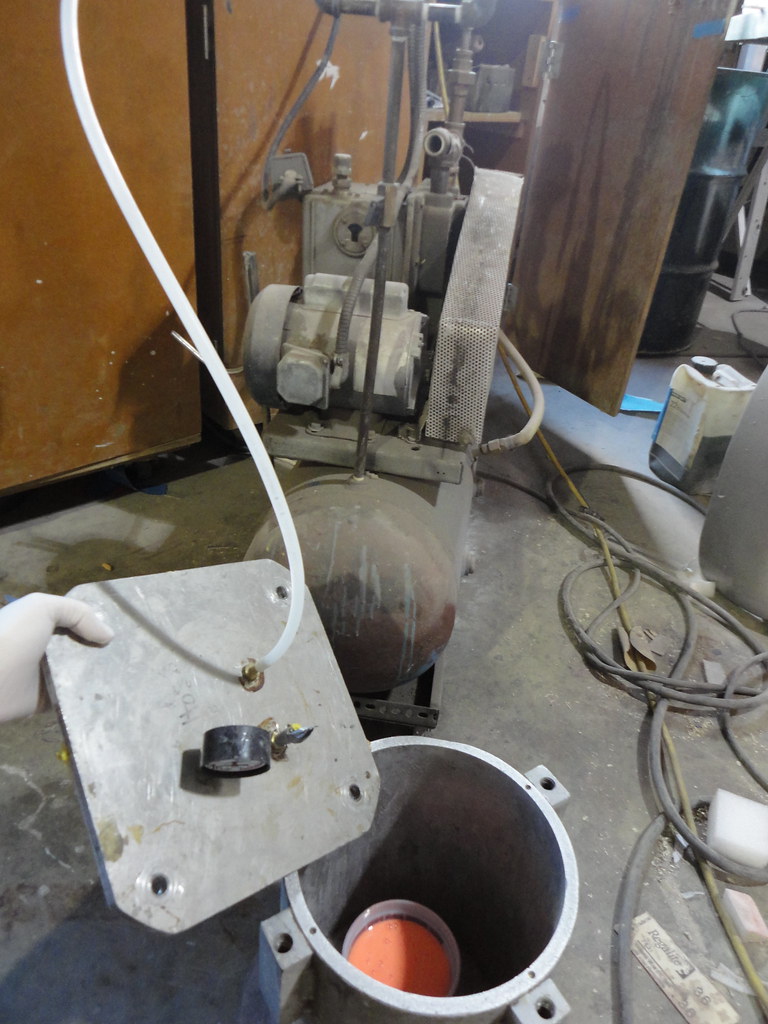
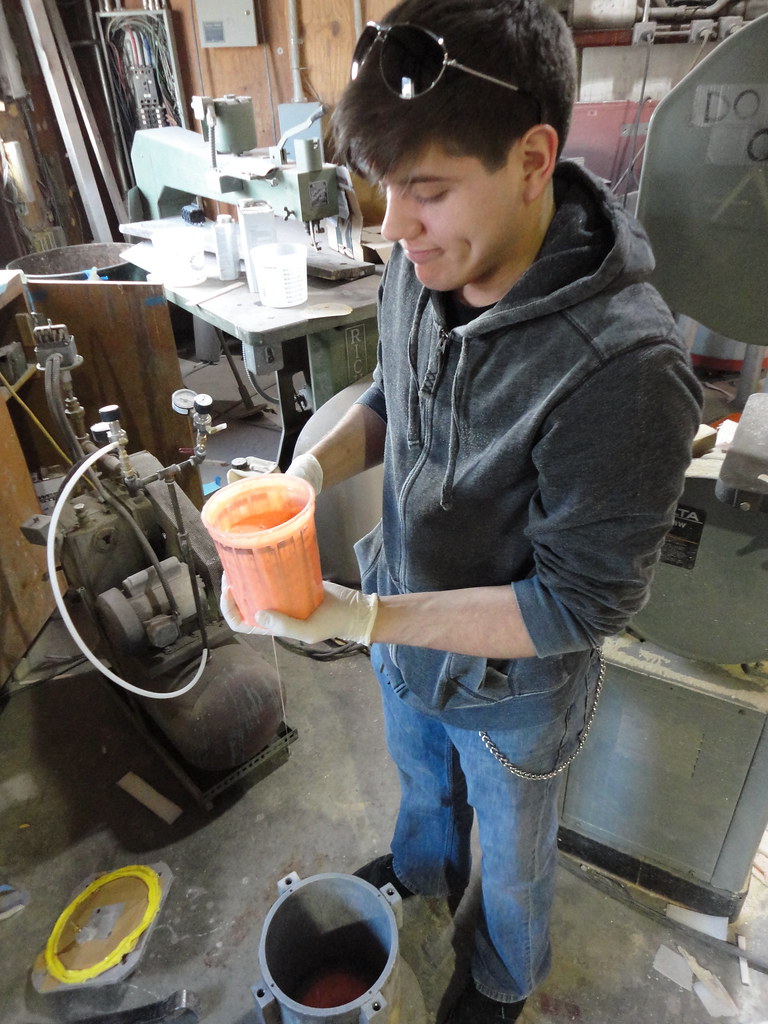
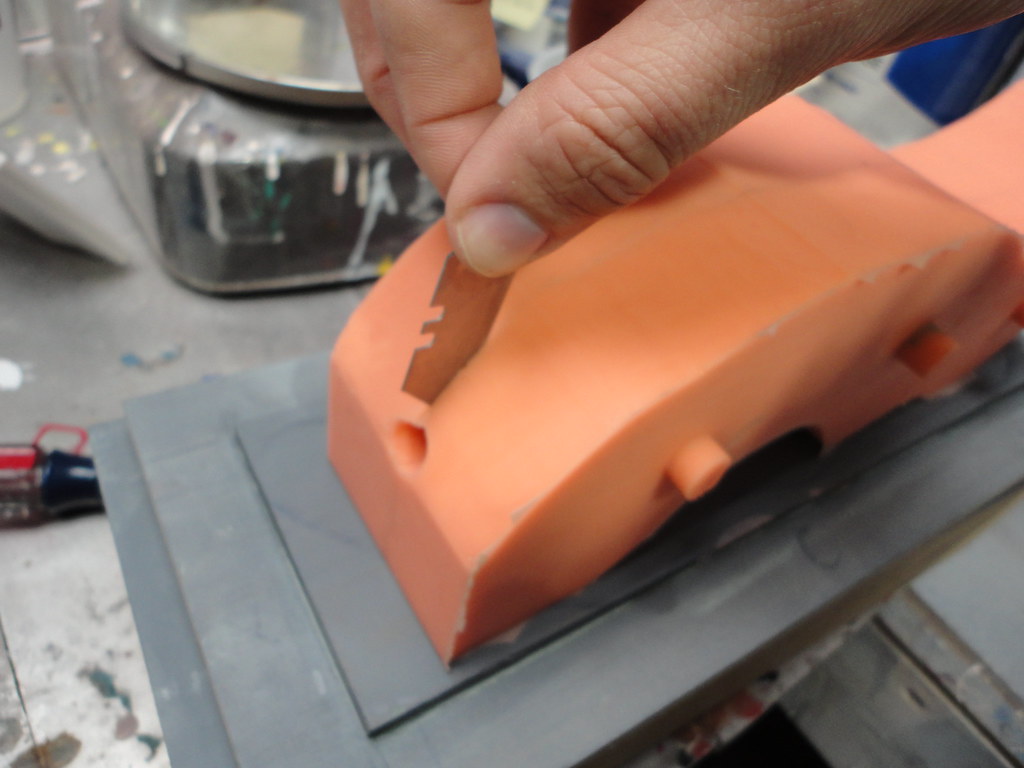
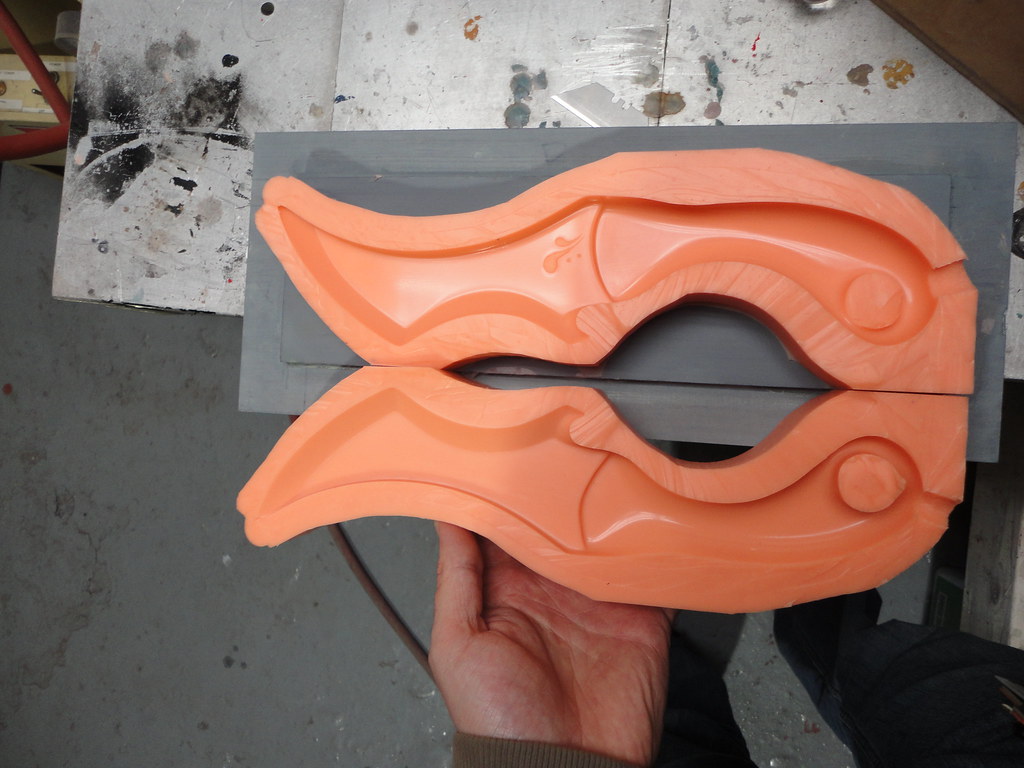
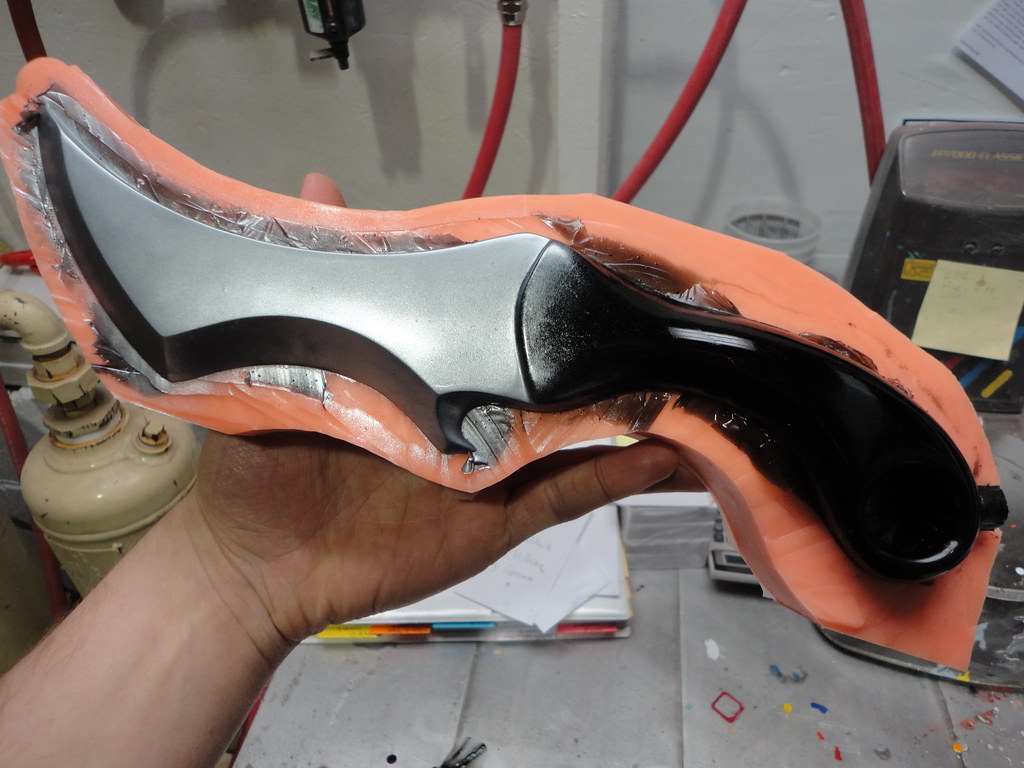
And here's a few long overdue photos of prepping the knife mold and pouring the liquid foam.


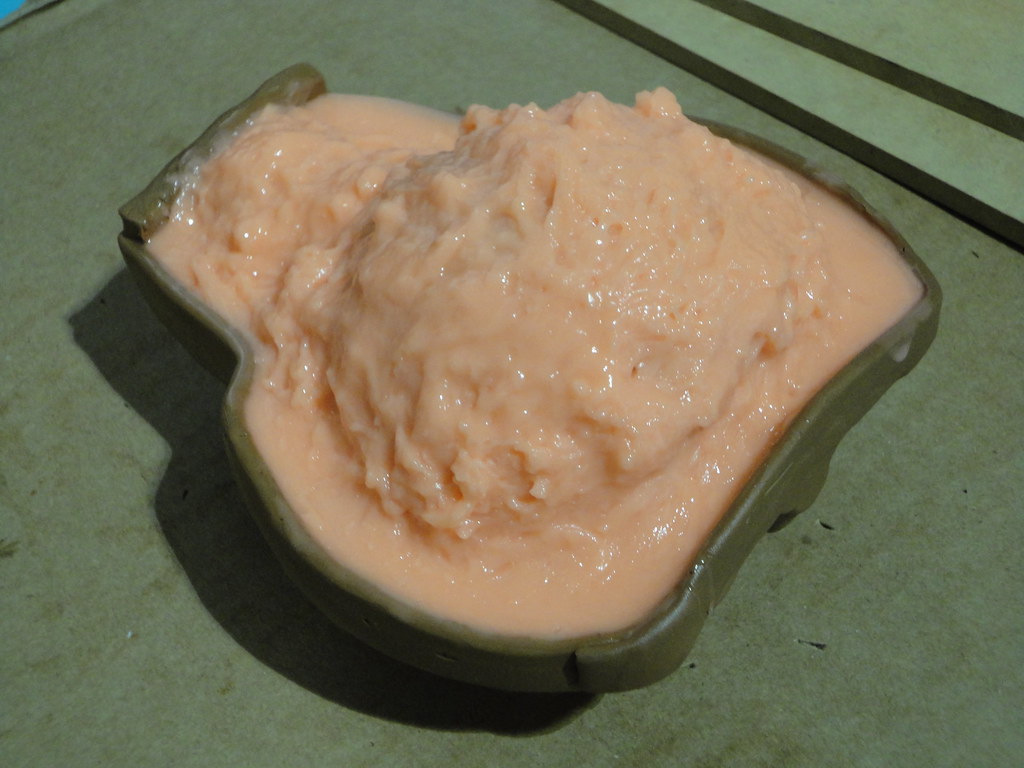
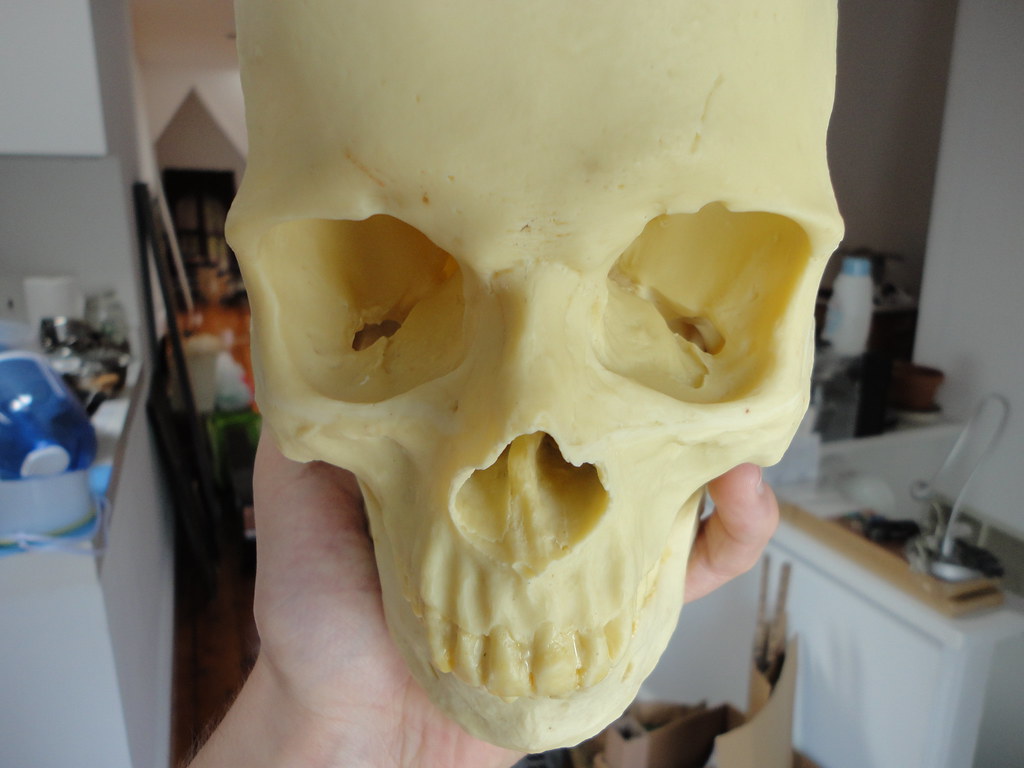
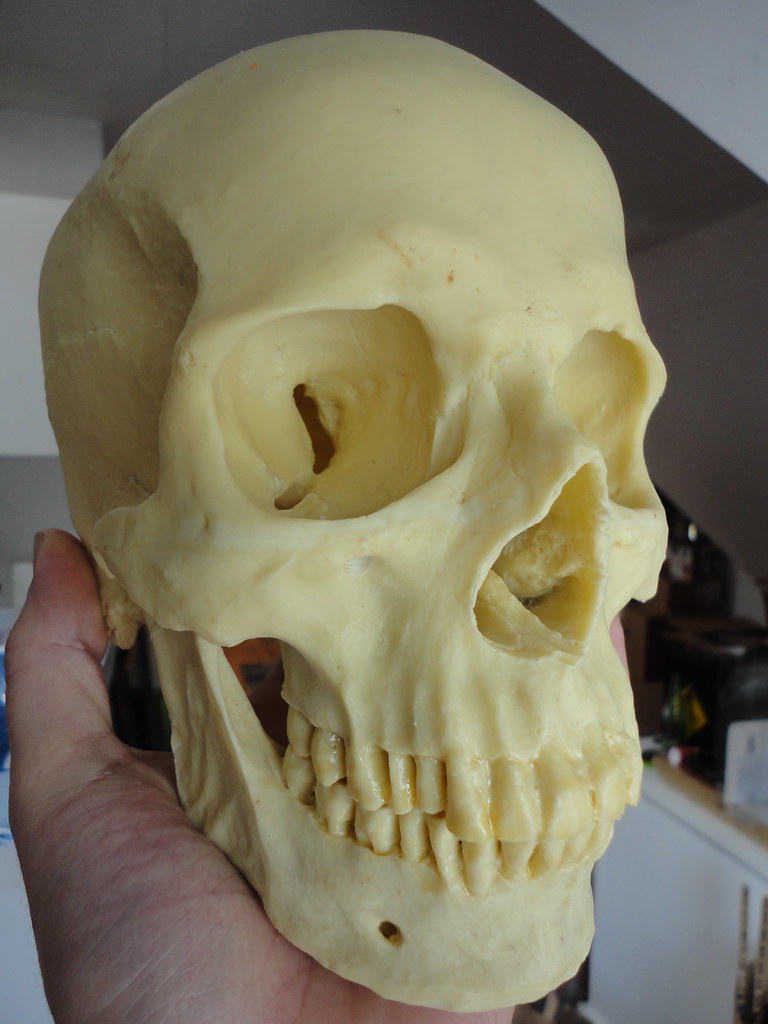
And this here unlucky guy (girl?) through some strange twist of fate (or by opting to) has ended up with the likeness of their skull in my possession.  I expect that while agreeing to donate their body to the fields of art or science they never expected to end up as a lamp (which is what this will ultimately turn into). But first, before it arrives at its final destination, it will be submerged in orange sherbet-esqu silicone...

That's right, expect to see Jimmy V2.0 at some point in the future of Sidereus.


More updates on Future Jimmy coming soon.


Sunday, March 20, 2011

Foam Dagger: part 3

I decided to drive up to boston this weekend to a Smooth-On retailer called Reynolds.  In spite of the heavy dent this left in my wallet, I'm more than thankful I made the trip in person.  I spent a good amount of time picking the brain of  a guy named Andrew who is one of the support techs on their staff.  This guy was well versed in many of the materials I was planning to use, and he gave me a lot of helpful advice; he even helped me decide on a different casting resin that would better fit some of my future projects. 

Making the silicone mold - 
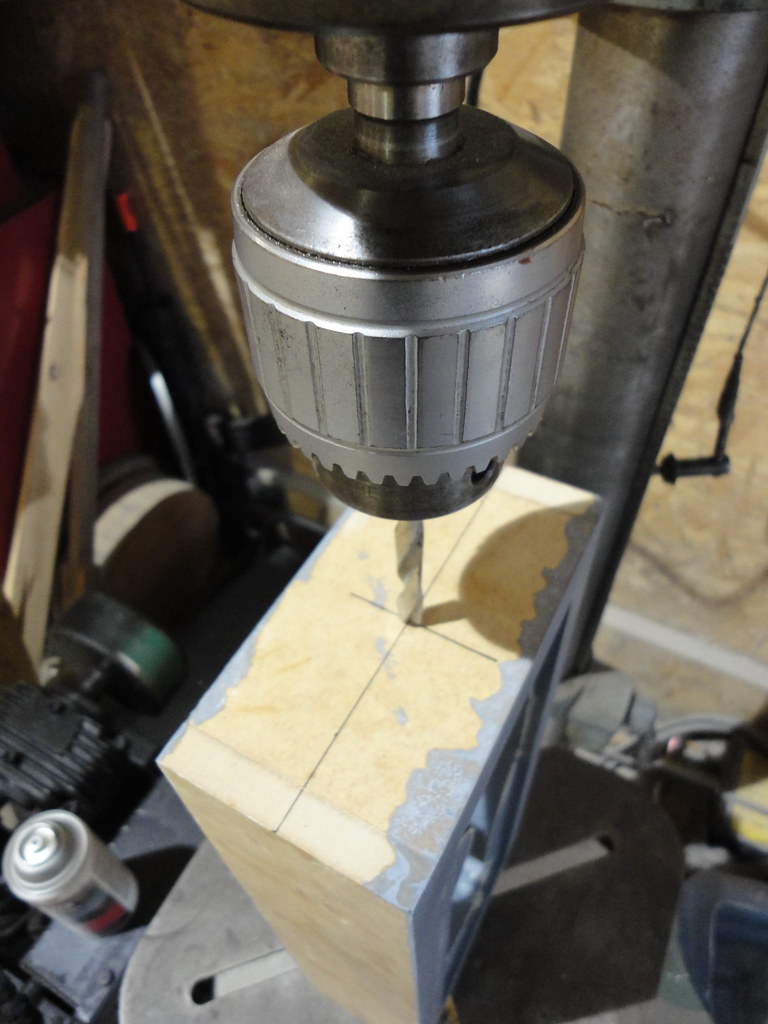
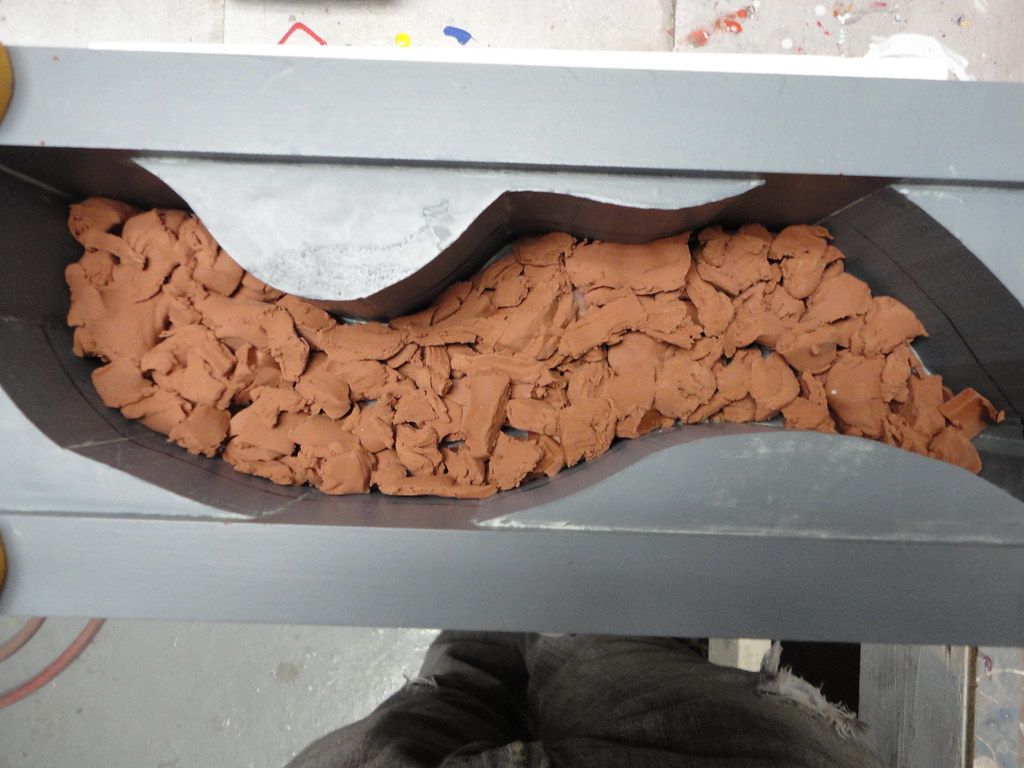
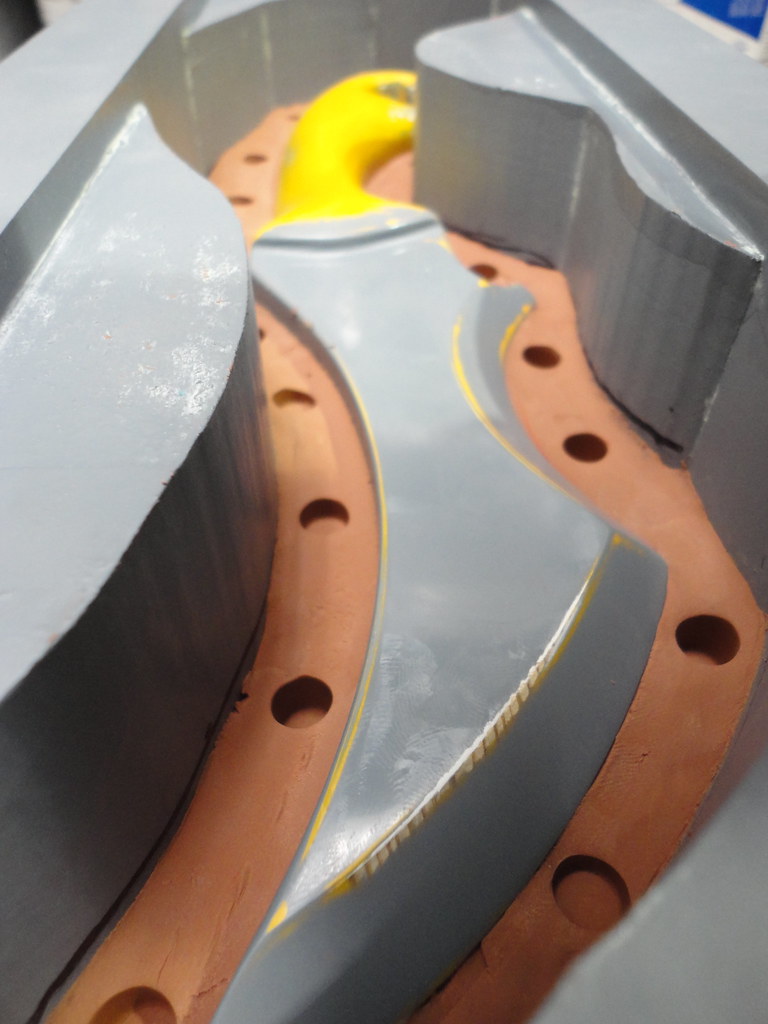
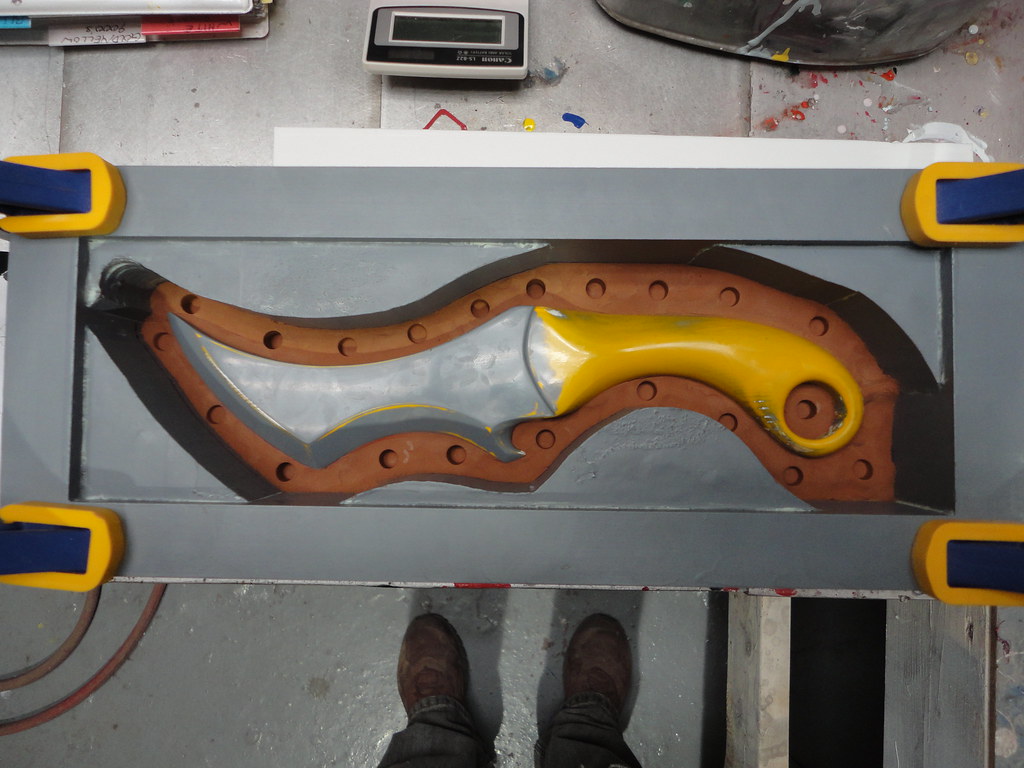
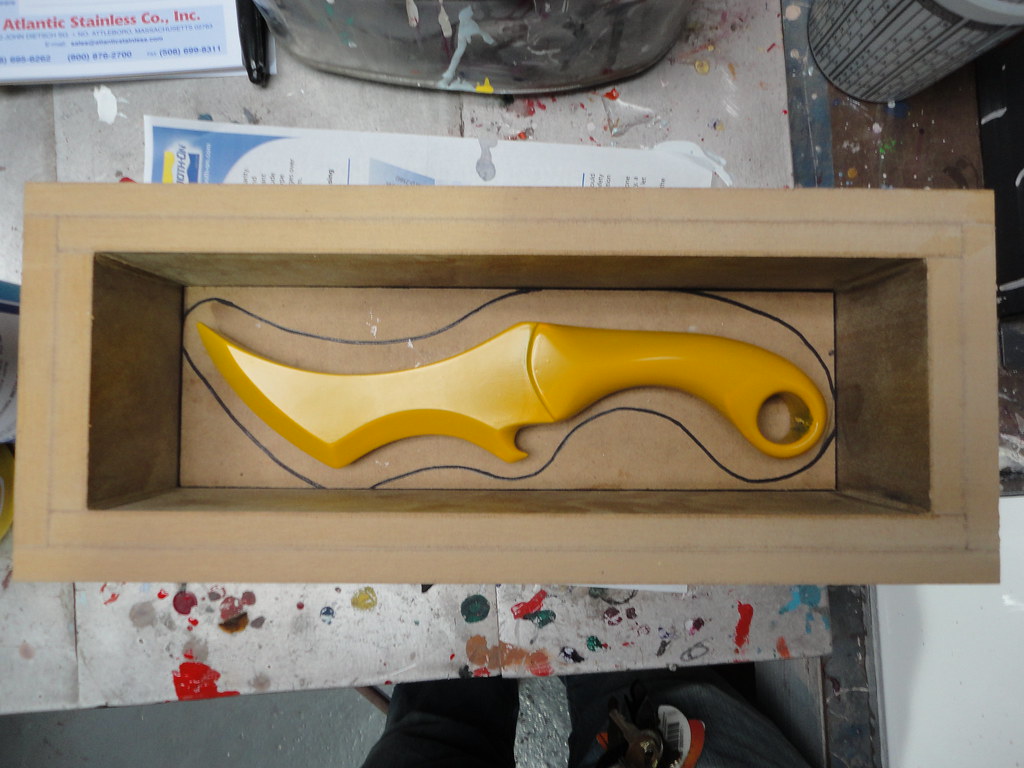
I started out by drilling a pressure release hole through the mold box.  This will allow the expanding foam to go somewhere.  Next, I filled the bottom half of the mold box with bits of (non-sulfur) clay to elevate the knife to the halfway point.  After I centered the knife I smoothed out strips of clay to the walls, and, using the dull end of a pen knife, I made small impressions to act as register keys.


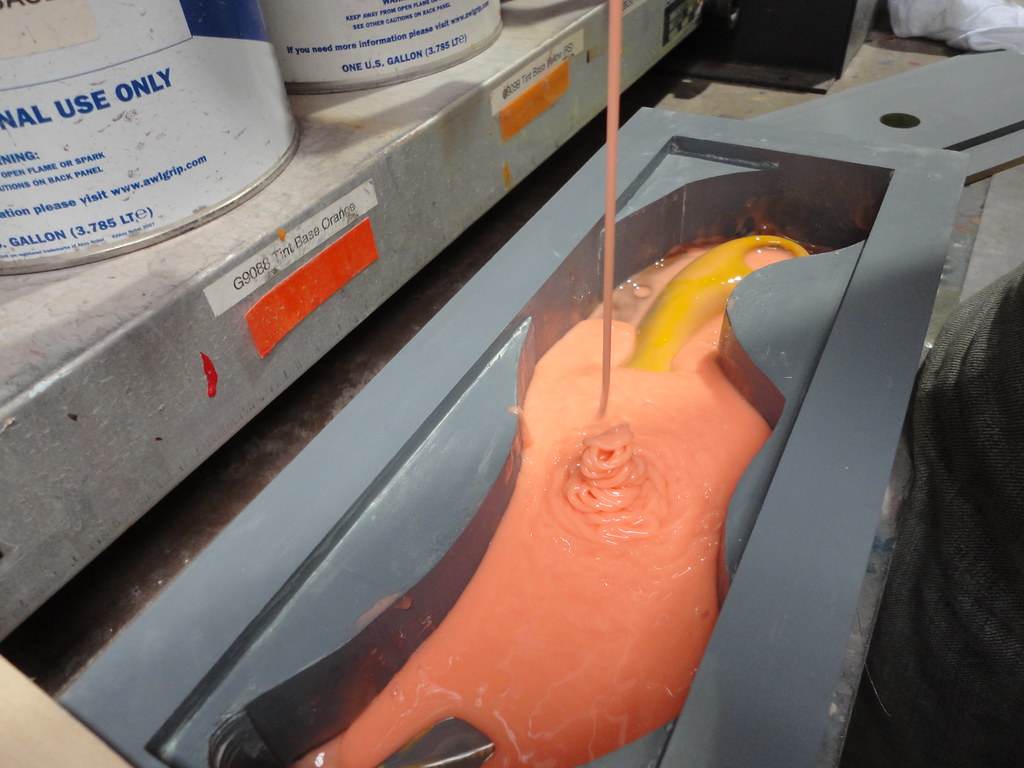
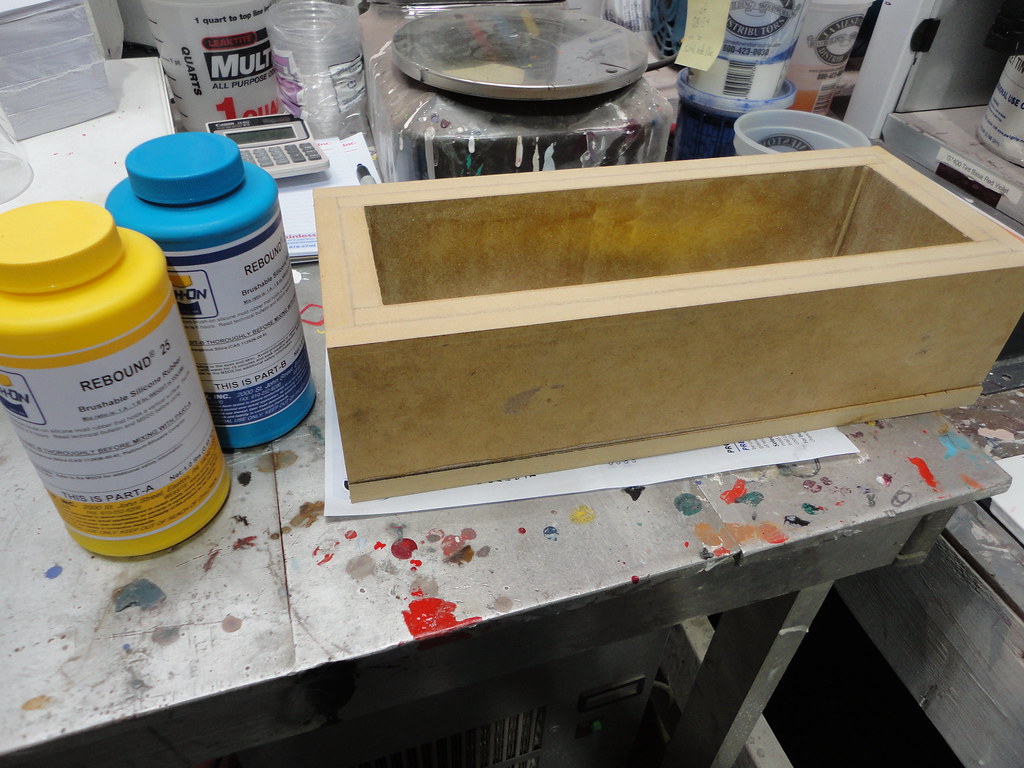
Rebound 25 mixed thoroughly then poured into the mold box


Register key detail on the first half of the mold.


Once the first half of the silicone cured, I used more clay to maintain the pressure release hole when pouring out the second half.


With a lot of resins and silicone materials it is recommended that you use a vacuum chamber to draw out air bubbles that can cause major issues during the casting process.  This is called degassing.  I didn't do this for the first half of the mold, but I thought I'd give it a try for the second half to see if my results would be any better.


I learned something valuable from this.  The vacuum causes the material to rise- almost like bread dough.  It's important that you don't fill your container too high... or else you'll be learning the same thing I did too.  Wasted material, le sigh.


Fuck up #2:  After both silicone halves were cured I realized that I didn't use nearly enough (or maybe the wrong) release agent...  This caused the silicone to cure to itself (insert angry face here) which meant the mold had to be cut in half with a razor.


Unfortunately this made the register keys nonexistent, however, the mold would still be functional because the tight fitting mold box would still hold everything together.

The first castings -

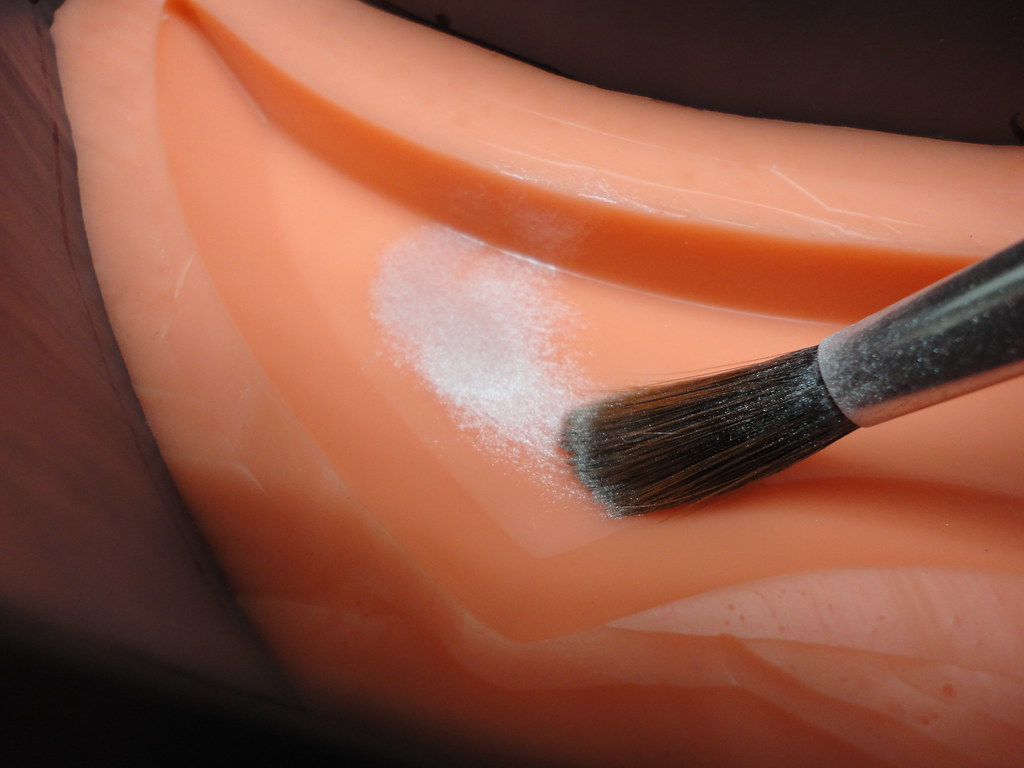
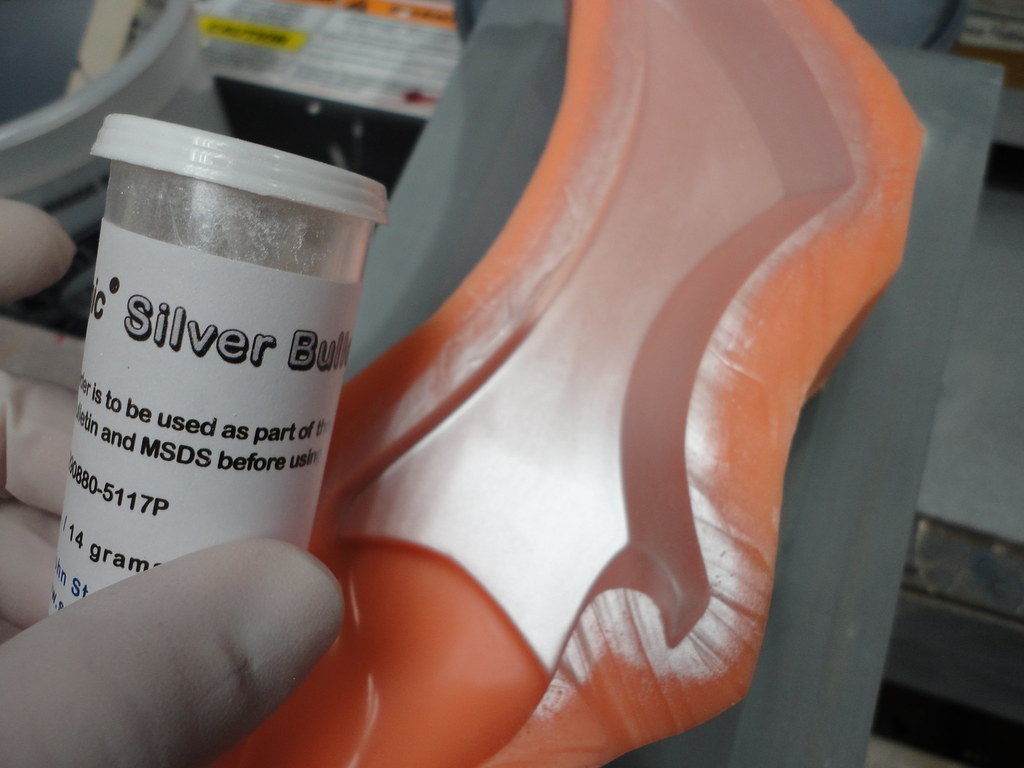
Preparing the the blade section of the mold with a brush on silver powder:


Unfortunately, taking photos of the actual casting process was impossible with only two hands.  The working time for the foam was about 50 seconds after mixing, so this was a hectic process.

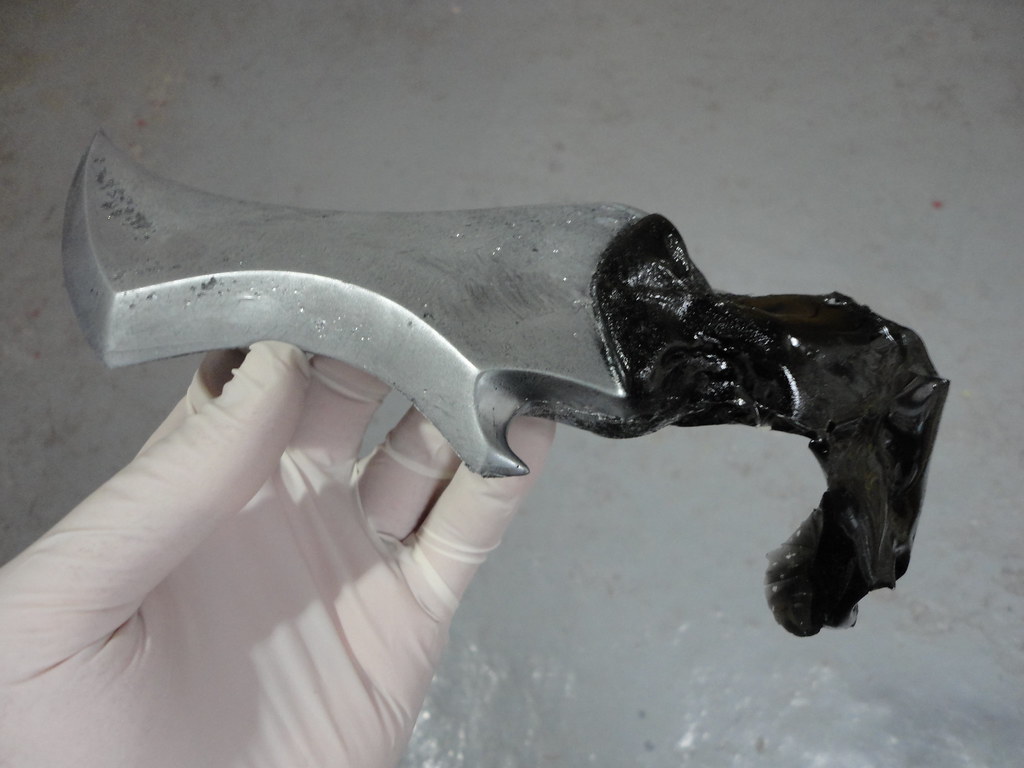
The first casting in all its glory!


...Remember what I said about learning curves in the first post?  

I knew when nothing came out the pressure release spout that I didn't use enough foam; although, the blade on this looks pretty decent for a first try.  I'm very pleased the 'gutting hook' detail didn't trap any air bubbles. I thought if anything failed it would likely be that part.  

The second attempt was immediately more promising.  This is what I was waiting to see the first time.


1 hour later...


Still, I have a few more test runs I'd like to try and some minor kinks to work out of the system.  All in all, I'm very pleased with the results thus far.


Wednesday, March 9, 2011

Foam Dagger: part 2

So the Smooth-on supplies I ordered came in the mail a little while ago, and, the more I looked at them, the more worried I became.  The amount of silicone in the trial kit didn't look like is was going to cut it given the size of the box I made.


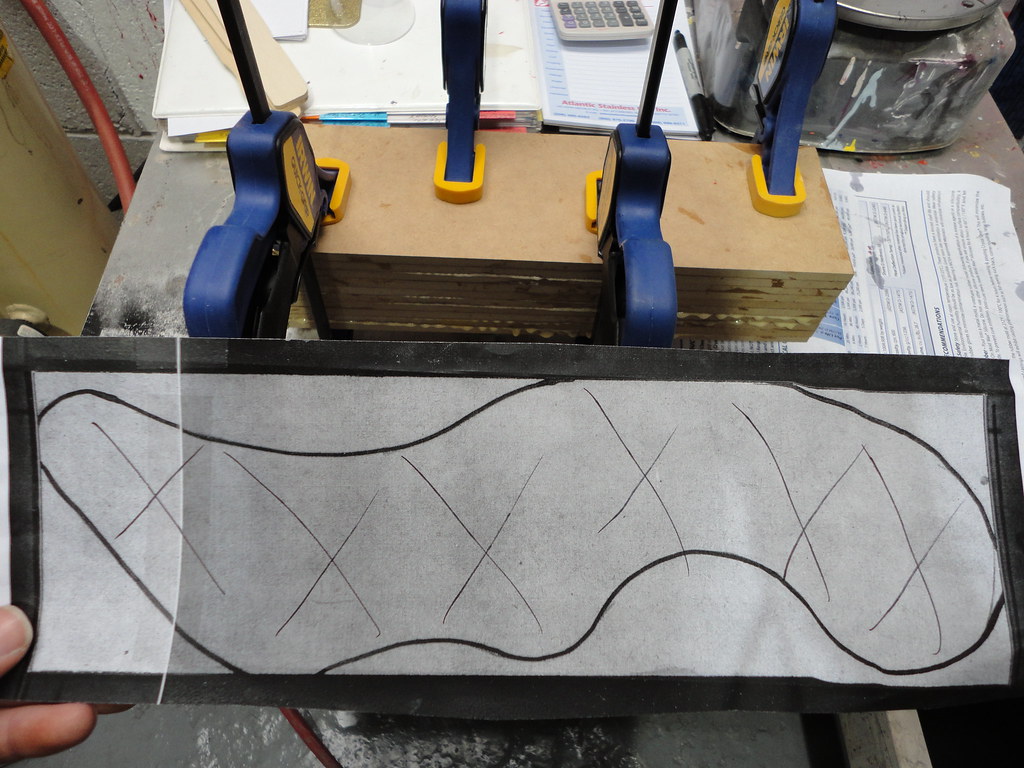
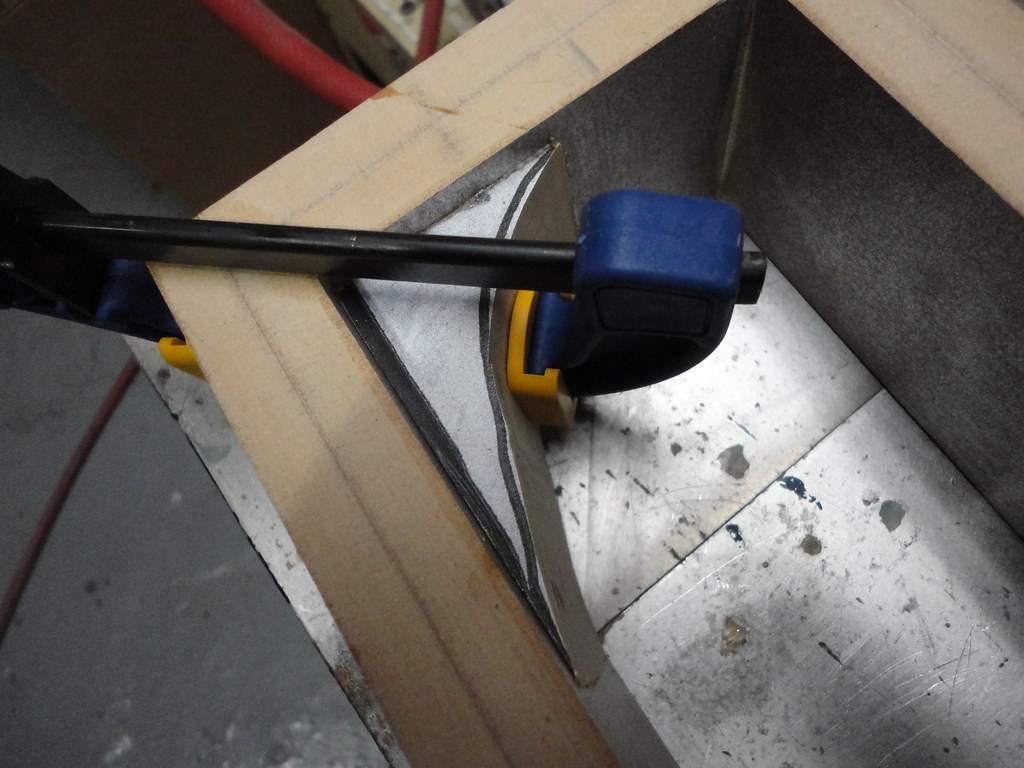
I decided to take the walls in even closer to the knife by tracing its general outline to use as a template.  


I used 3M super 70 spray glue to adhere a photocopy of the tracing to MDF boards that had been laminated together to the proper thickness.  


A quick run through the band saw (sorry no photos) and I was able to start gluing the spacers into place.  (yikes, those cuts are sloppy) 


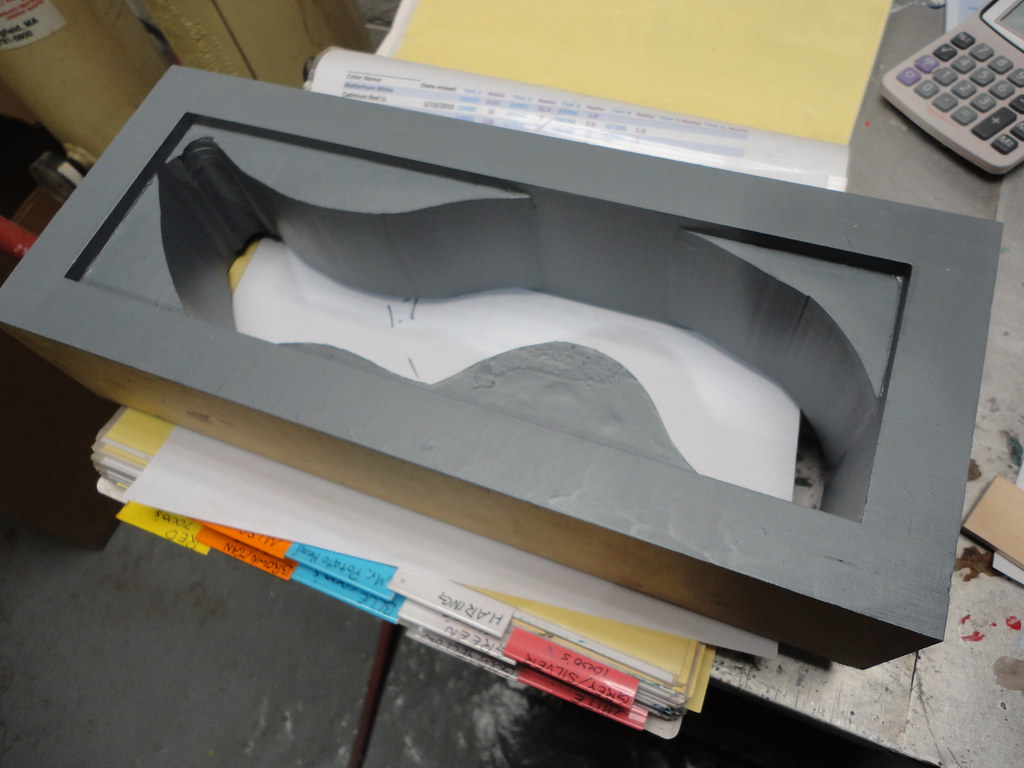
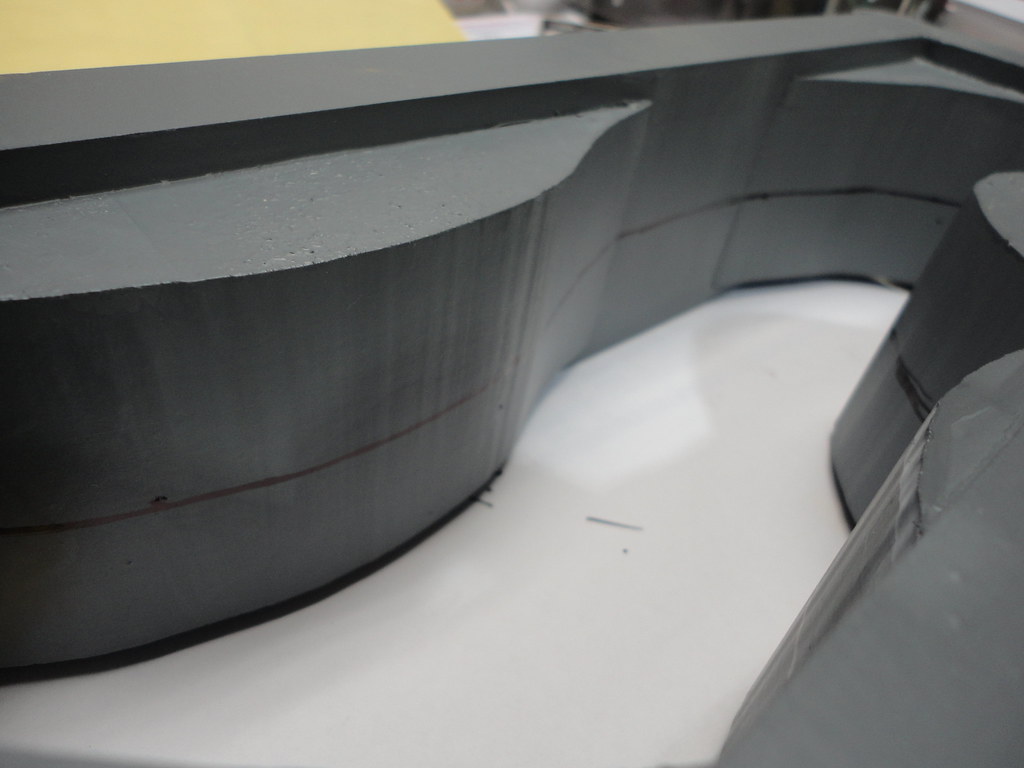
The center walls are finally done and sealed up with three brushed-on coats of primer.  The line of sharpie indicates where the two silicone halves will split apart.
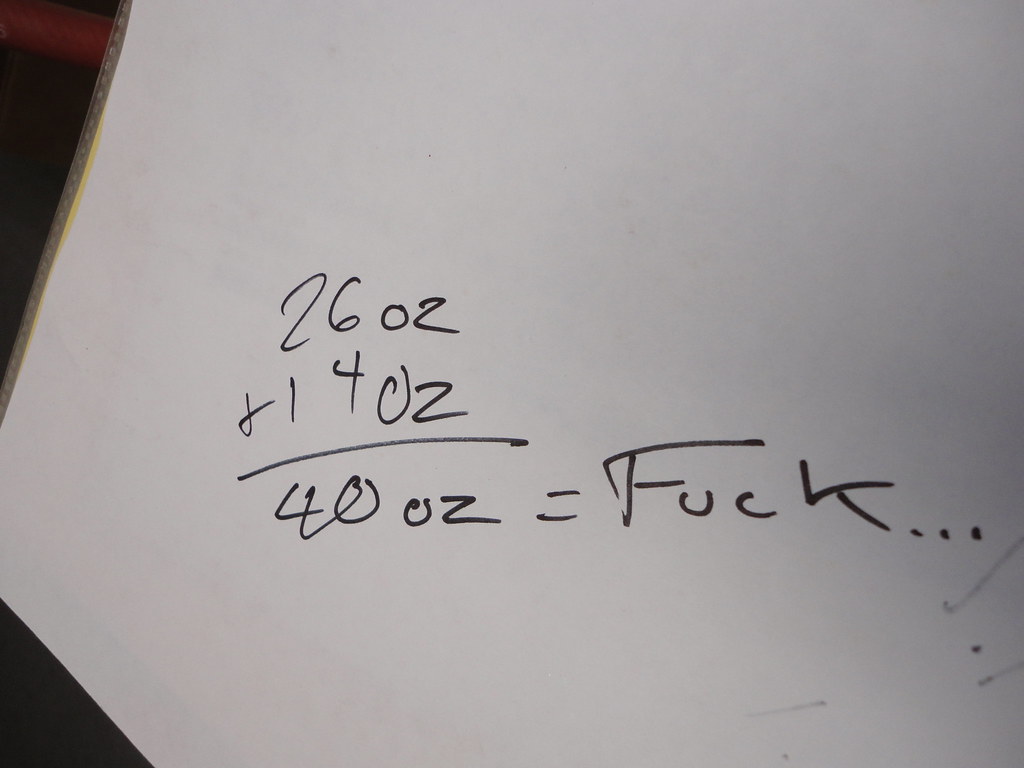
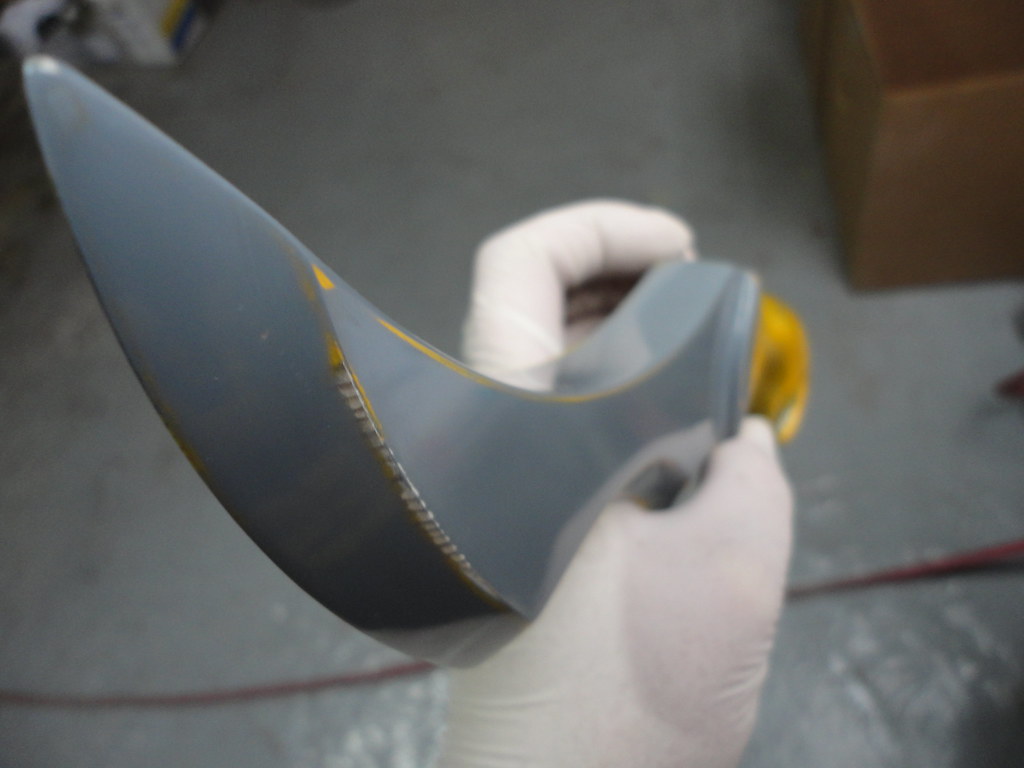


Ok.  I think I'm in the clear, but I know better than to just assume I'm right.  Now that the entire MDF box is sealed with primer and no longer moisture sensitive, I can take a volume measurement using water and a graduated container.  No photos again, sorry... Oh wait, heres one that should pretty much sum up the situation.


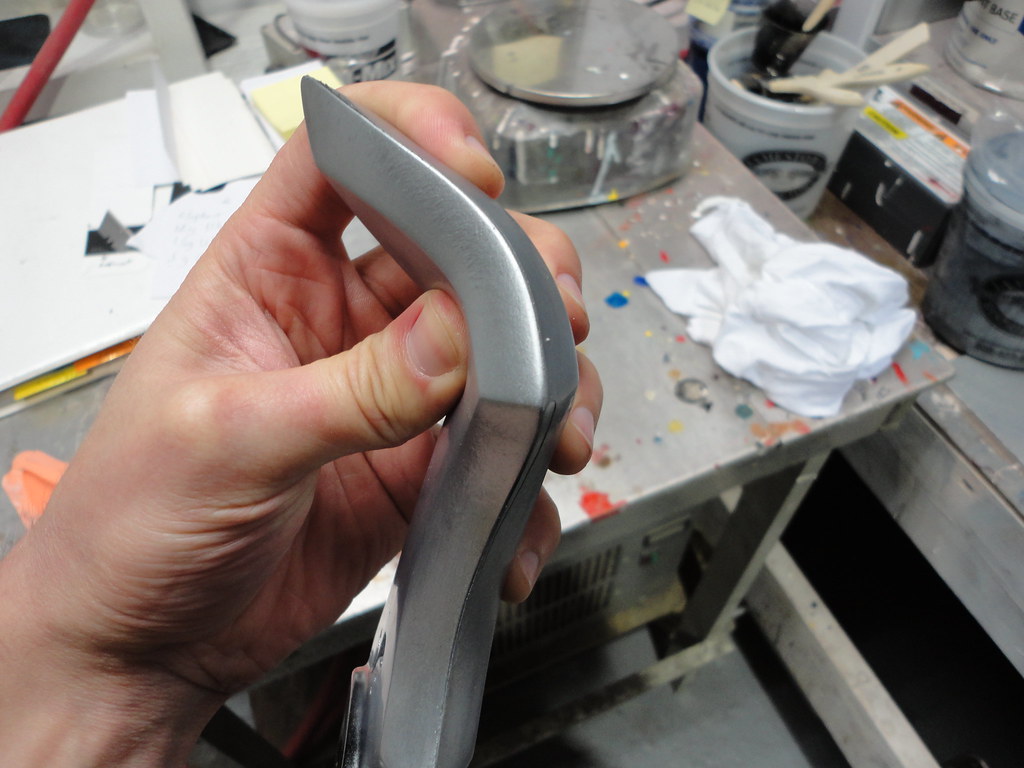
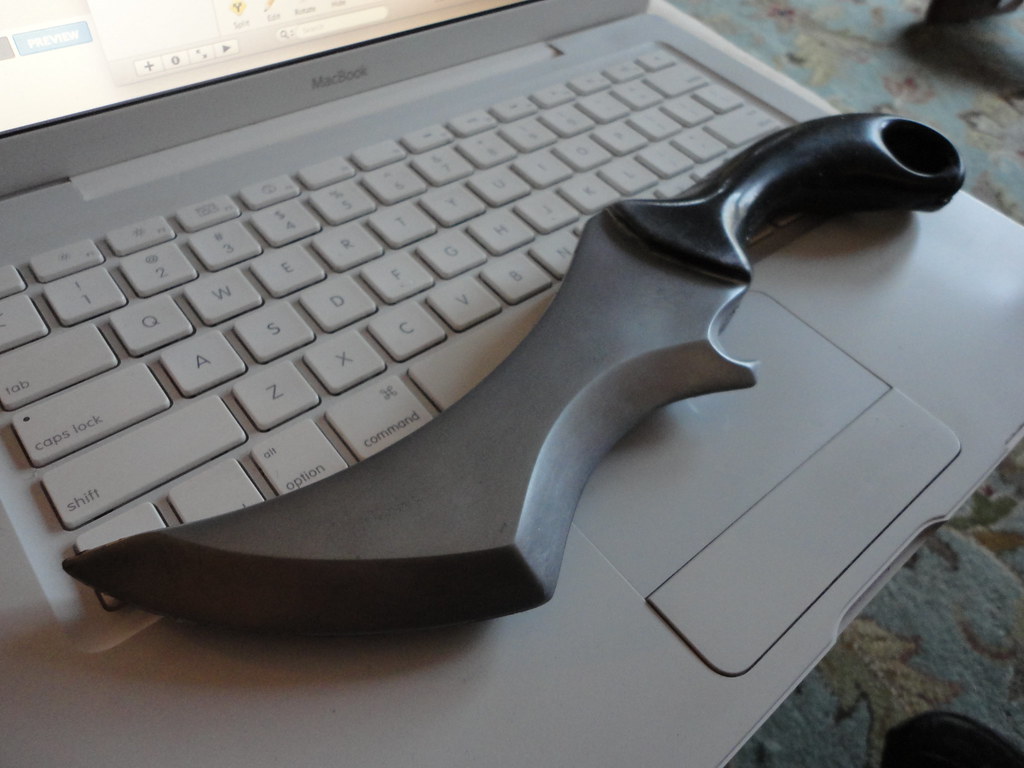
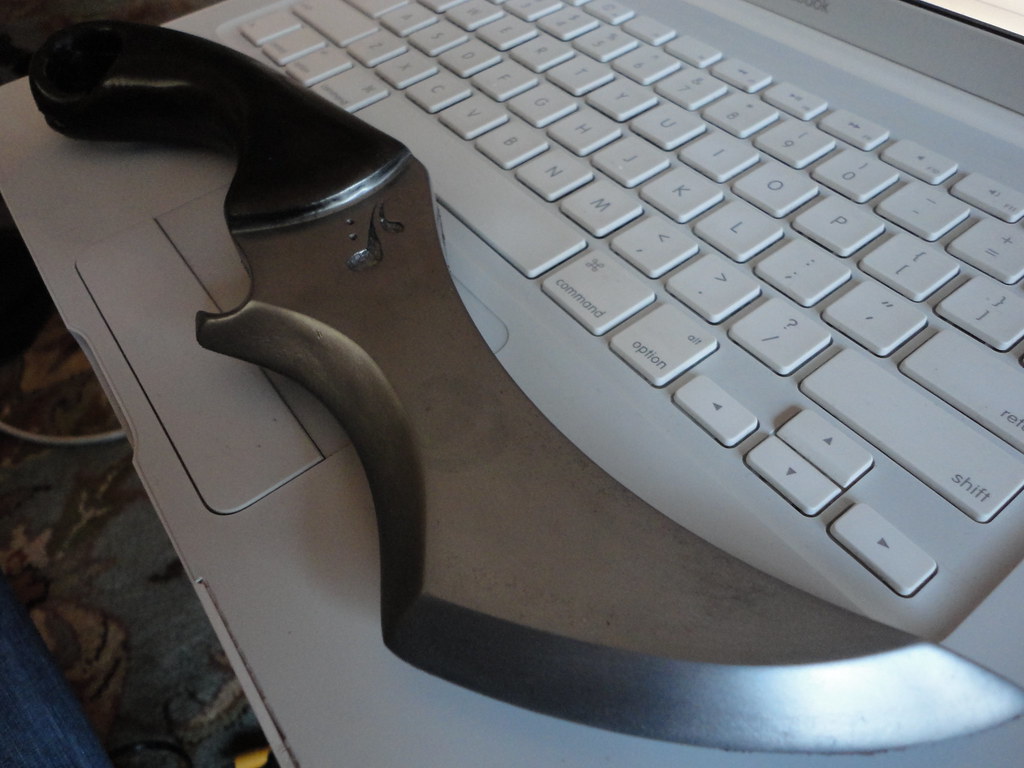
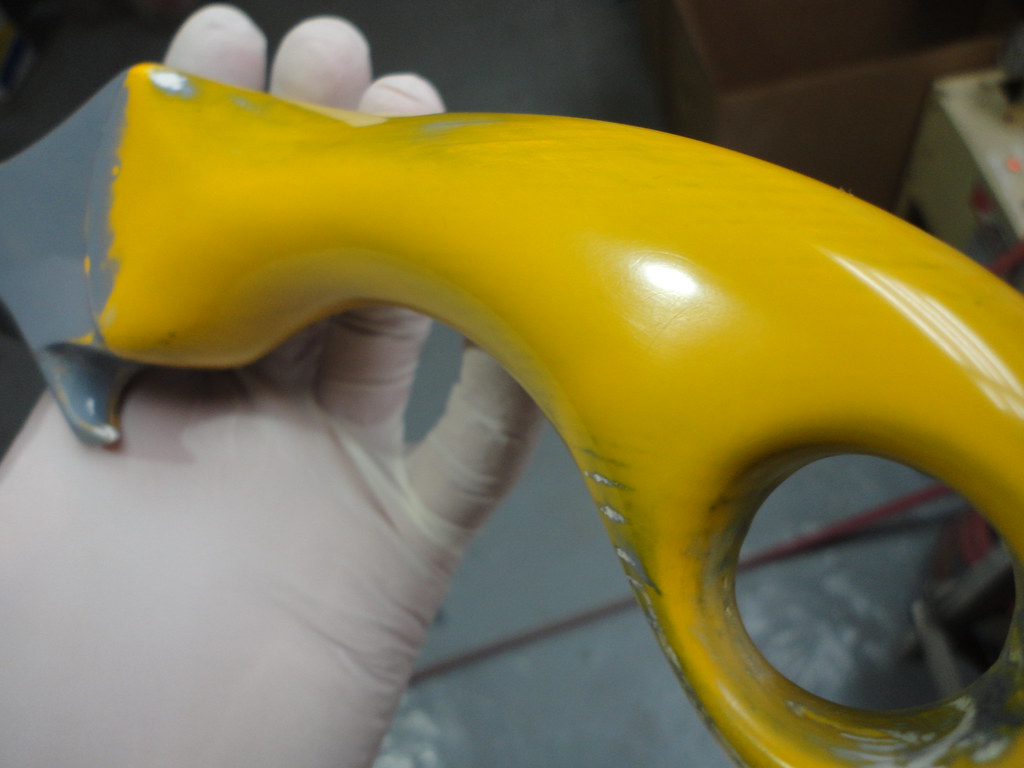
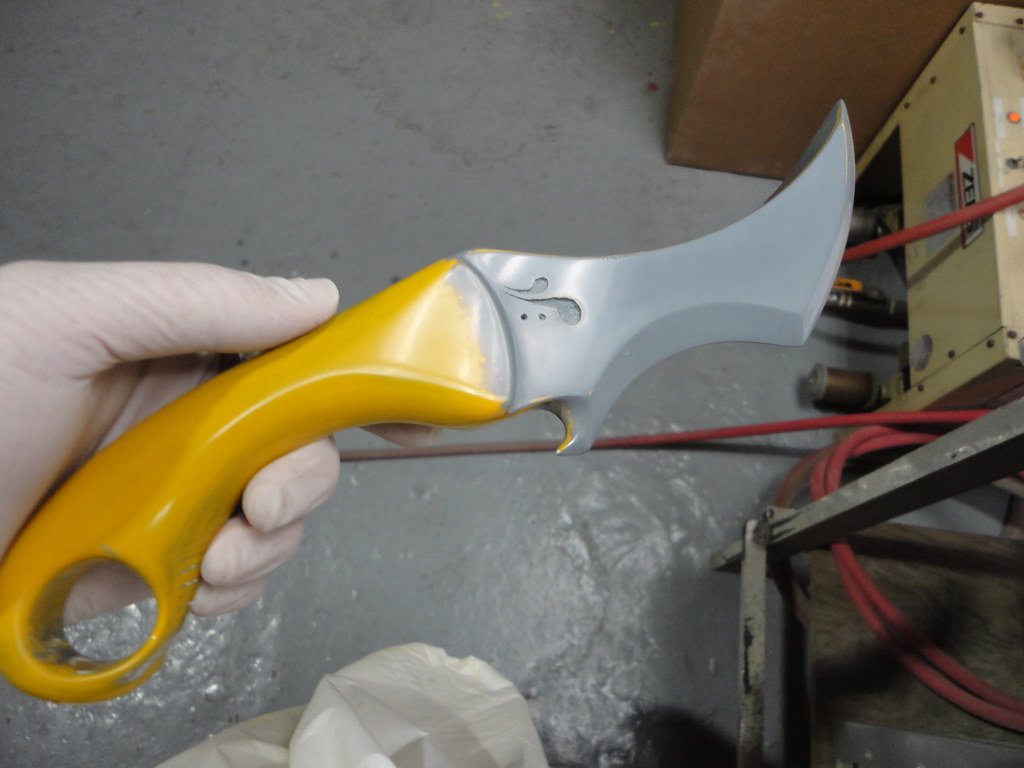
That's right, I *STILL* don't have enough silicone to make the entire mold.  Looks like I'll be going back on to Smooth-On.com to make another order.  While this is moderately frustrating, I am pleased with how the plug for the dagger turned out.  Just finished the wet sand and buff on that, so I'll leave you off with a few photos of how it turned out.


p.s.  I've uploaded a handful of older photos from past projects over at My Flickr page.

Saturday, February 19, 2011

And in the beginning - project 1: soft foam dagger

    This project is very experimental for me for a number of different reasons.  Most notably for the materials I'm using.  I've chosen to use Flex-iT! V (5lbs per. sq. ft).  This is an expandable soft urethane foam made by Smooth-on, and, although I trust smooth-on products implicitly whenever I try something for the first time, there is always a learning curve.  

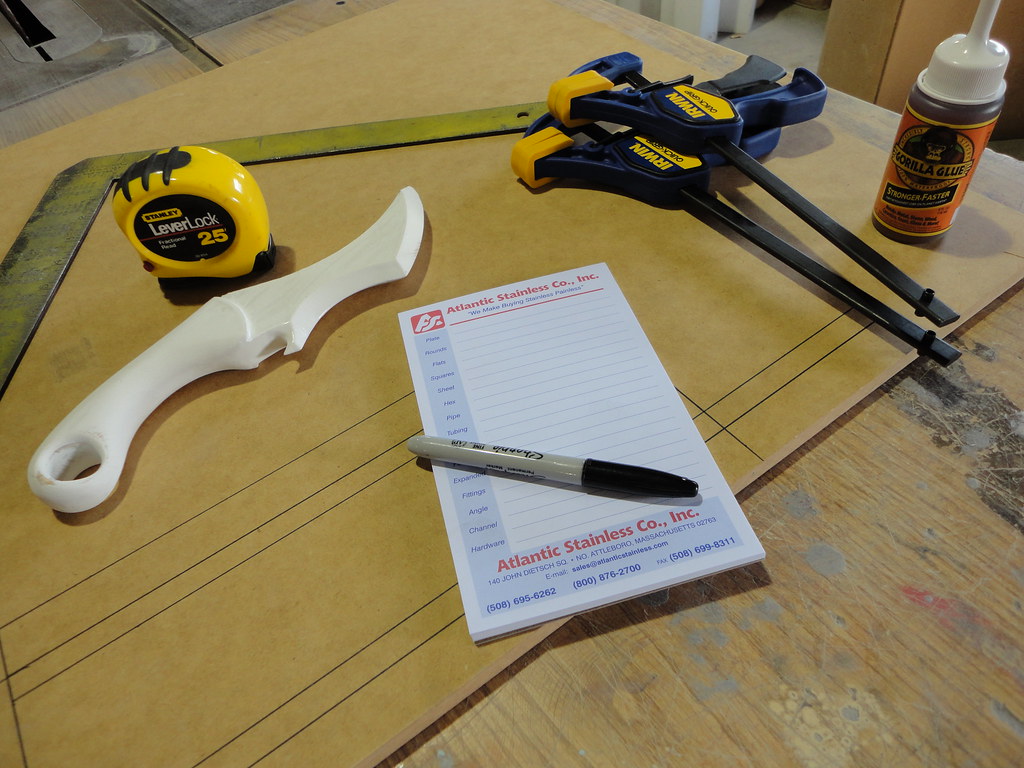
    First thing first.  Pictured here is the original knife carving (primed in white) and a few of the supplies I picked up to get the project rolling.  This is not intended to be a replica prop from a movie or game; it's just a design that I sketched out and then carved out of a 4x4 chunk of scrap wood.  Keeping it simple for the first go.


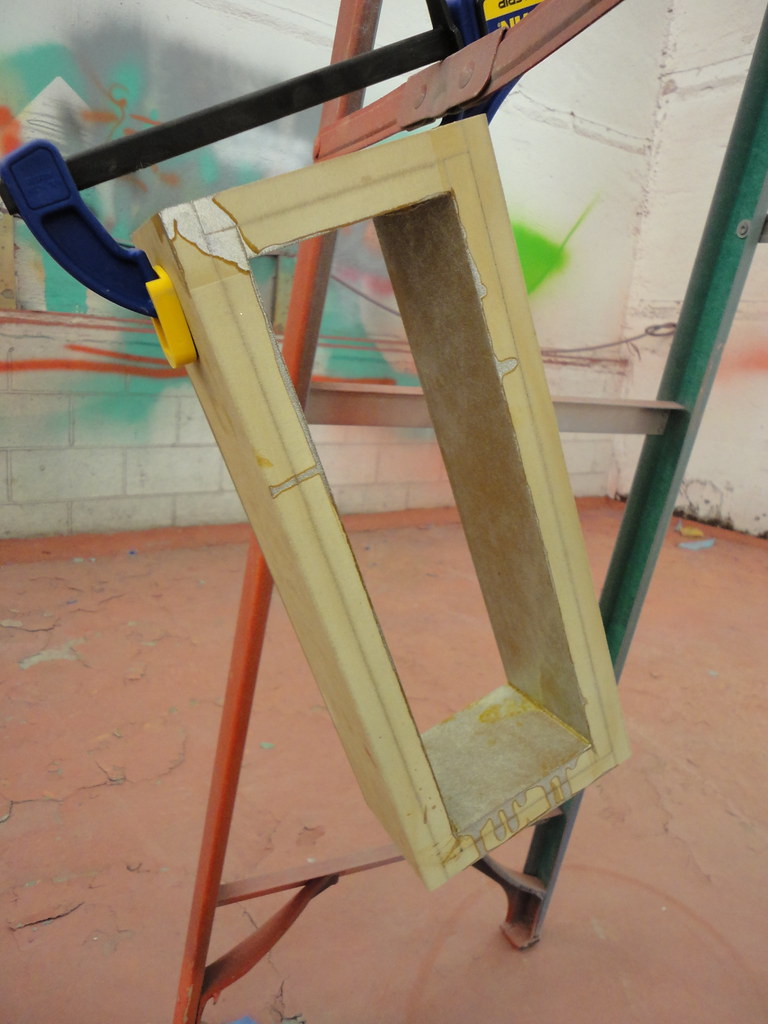
This photo shows the beginnings of the mold box.  It's constructed out of 1/2 inch MDF (medium density fiberboard) laminated together with Gorilla Glue to create sturdy 1 inch thick walls.  This will serve as a structure to pour the silicone rubber into and also as a mother mold later on down the road. 


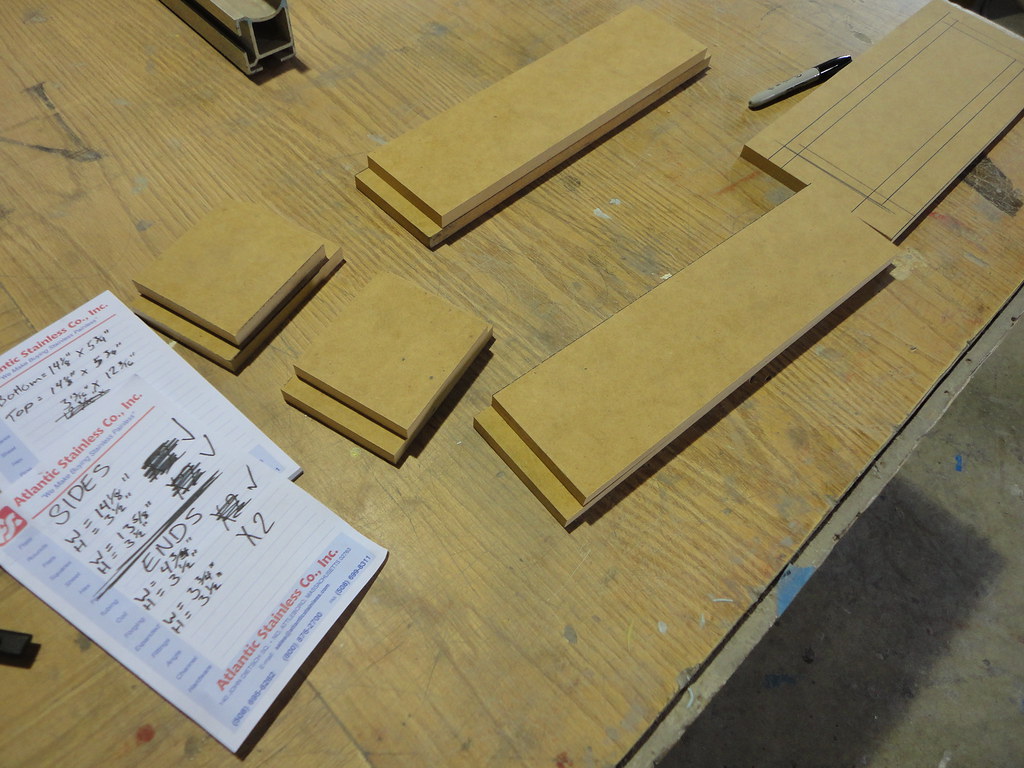
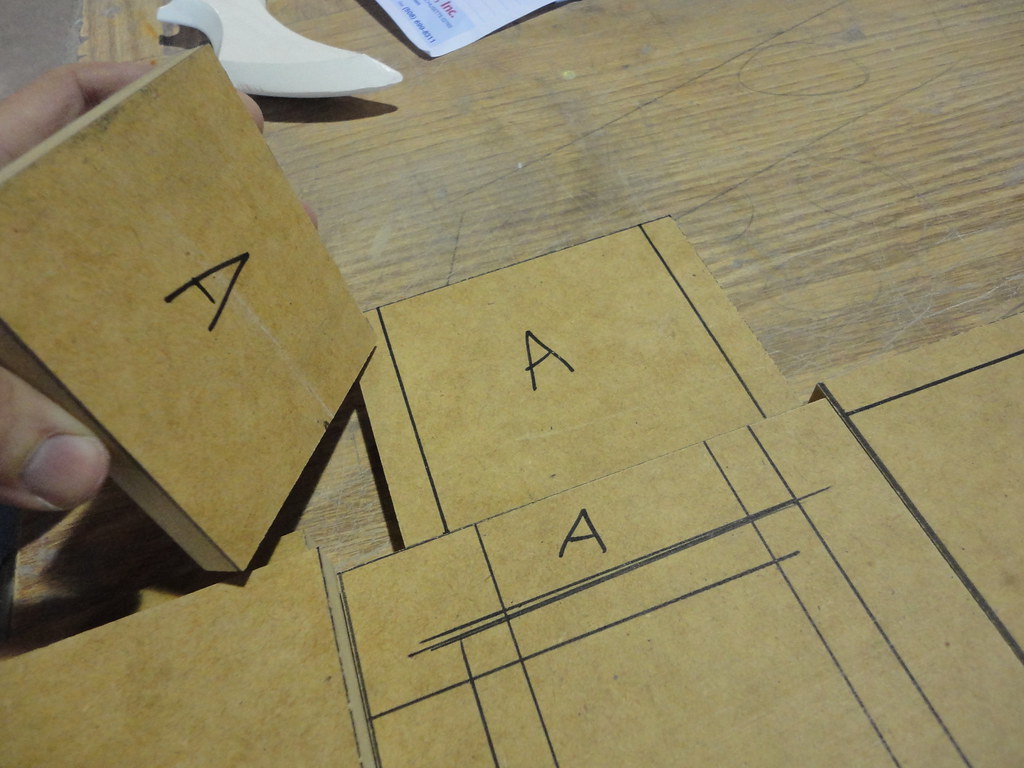
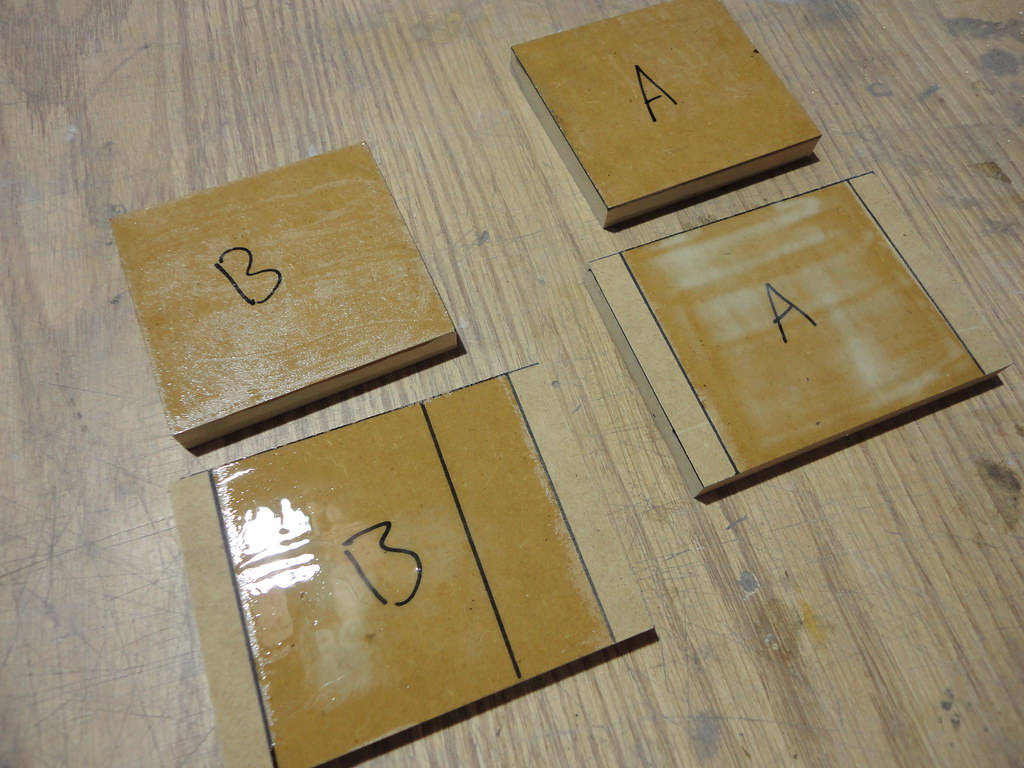
    I have a habit of rushing projects sometimes when I get too excited about them which makes me much more likely to screw them up.  I've found that pacing myself is much easier when I take the time to plan things out extensively and label things as I go.  It helps me keep my work space neat, my progress consistent, and, most of all, it allows me the time to troubleshoot problems I think I might run into and figure out ways to avoid them preemptively.  Here you can see I've marked the MDF pieces so I don't loose track of how they will be glued together.


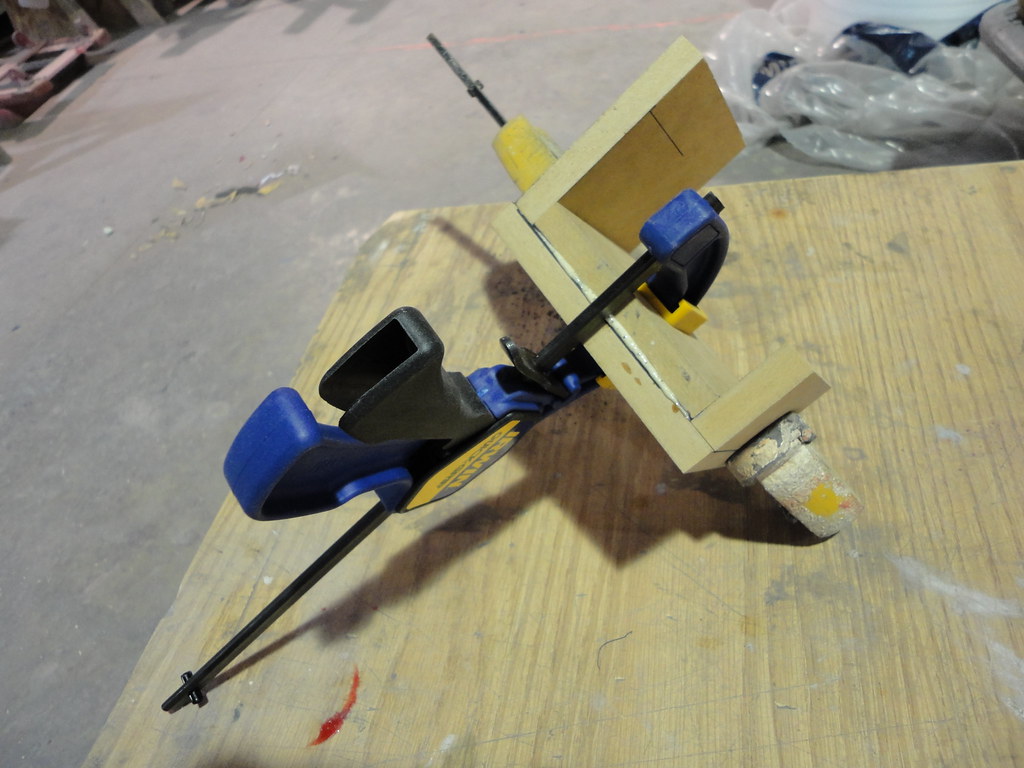
    Here I've clamped the end pieces together.  To make sure the smaller section is centered, I've used two scrap chunks of MDF as spacing guides at the edges.


    After the side walls of the box were finished, I used some left-over paint to seal the edges.  This was arguably unnecessary, but it could potentially serve to extend the lifespan of the box.  So, being given the opportunity, I took it.


A short note about my hobbies:

    I get bored very easily, and I think most of my hobbies are a byproduct created by the attempt to stave off that boredom.  One of my most beloved hobbies is Sidereus live role playing.  The beautiful (and daunting) thing about this game is its limitless potential to be fuel for projects like this one.  As the staff member in charge of prop building for this game, I'll tend to focus most of the content on this page to be Sidereus related.  My hope is that it may prompt people to learn more about Sidereus as well as inspire our current players to try out and share some projects of their own.