I decided to drive up to boston this weekend to a Smooth-On retailer called Reynolds. In spite of the heavy dent this left in my wallet, I'm more than thankful I made the trip in person. I spent a good amount of time picking the brain of a guy named Andrew who is one of the support techs on their staff. This guy was well versed in many of the materials I was planning to use, and he gave me a lot of helpful advice; he even helped me decide on a different casting resin that would better fit some of my future projects.
Making the silicone mold -
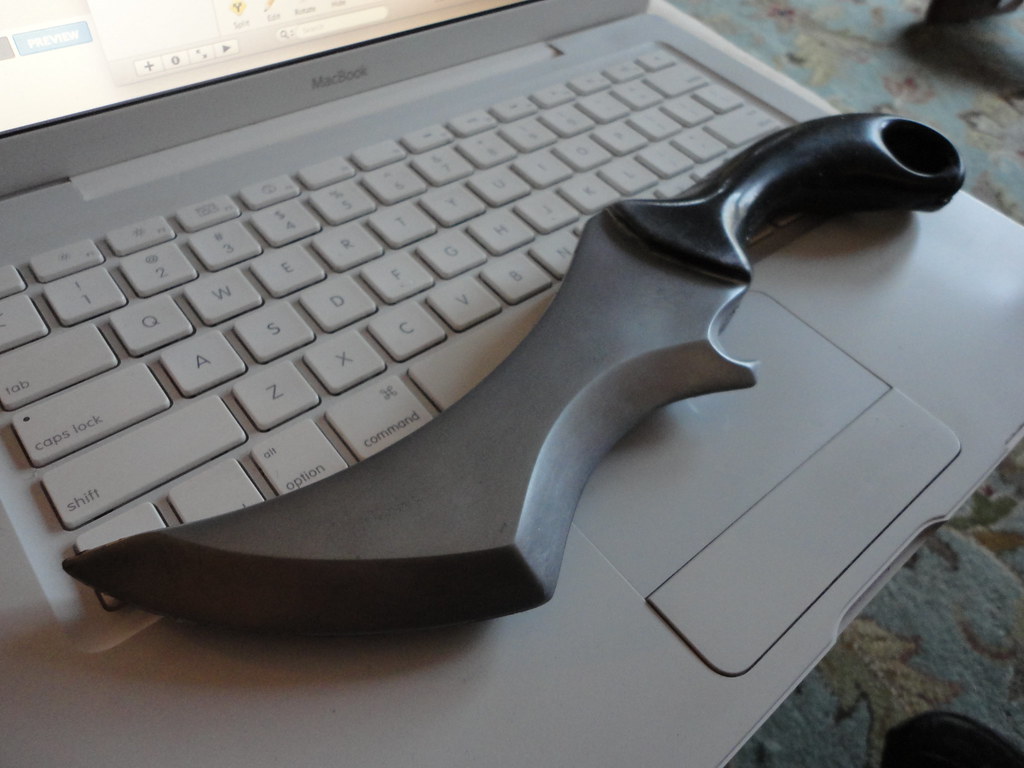
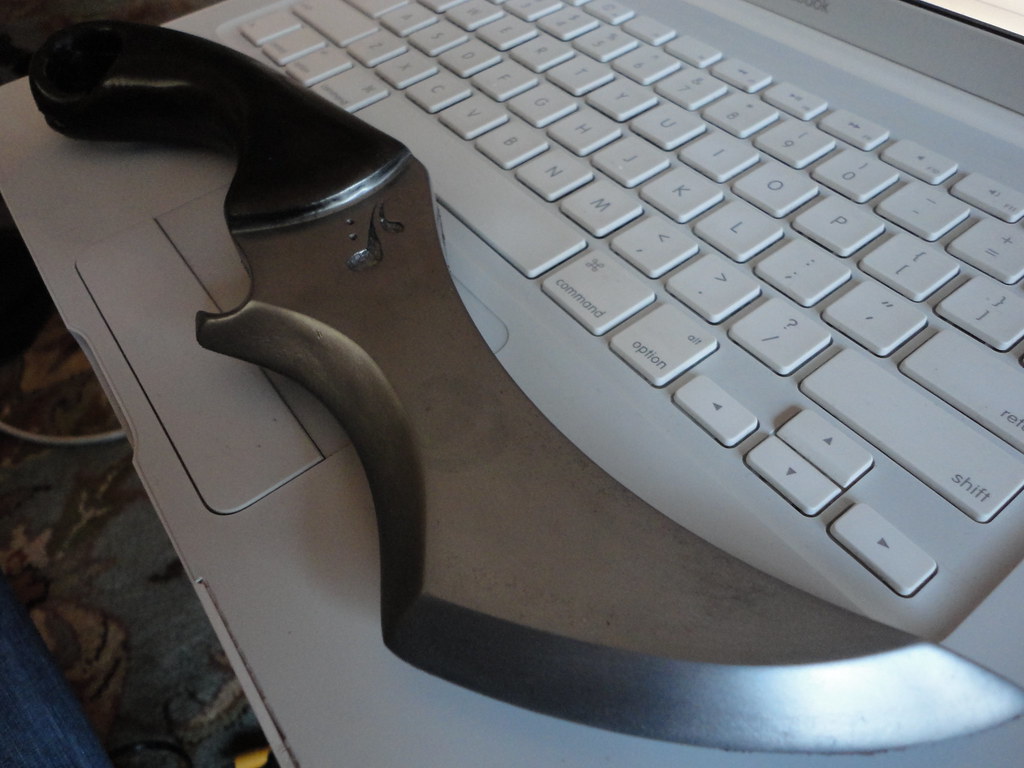
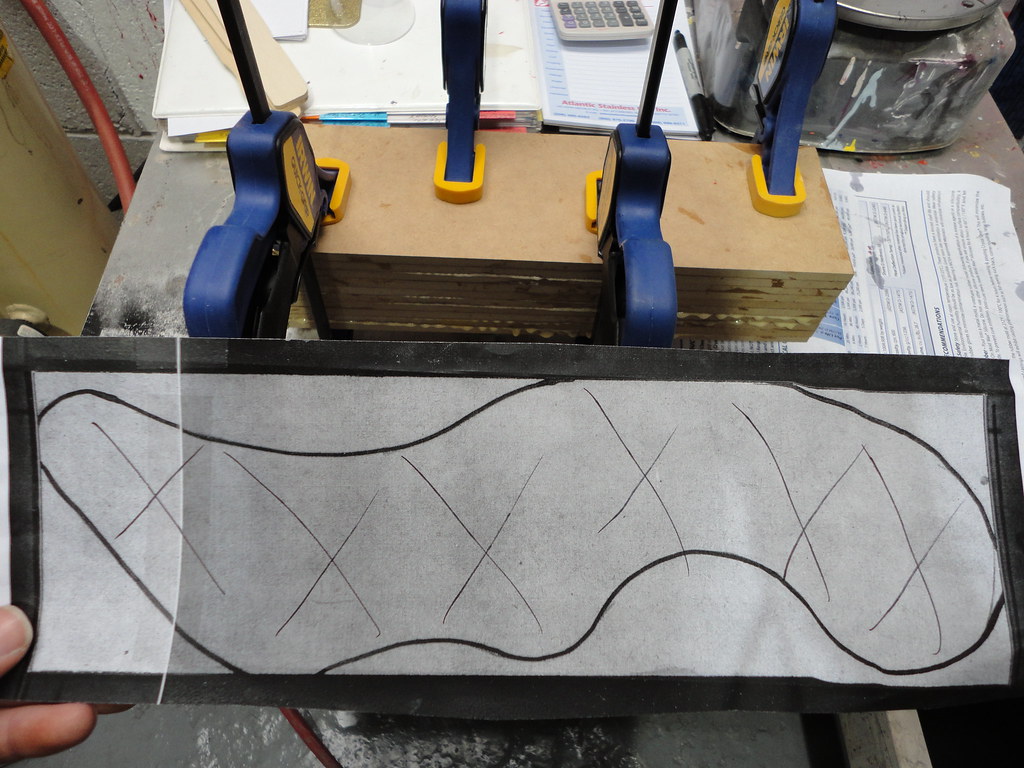
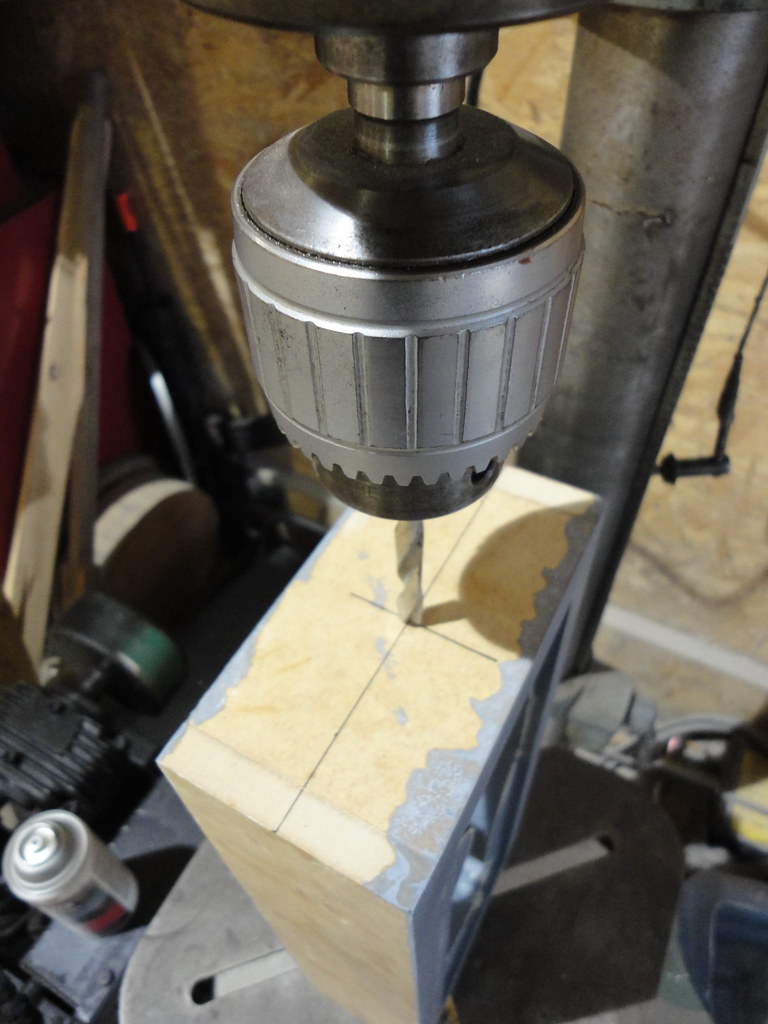
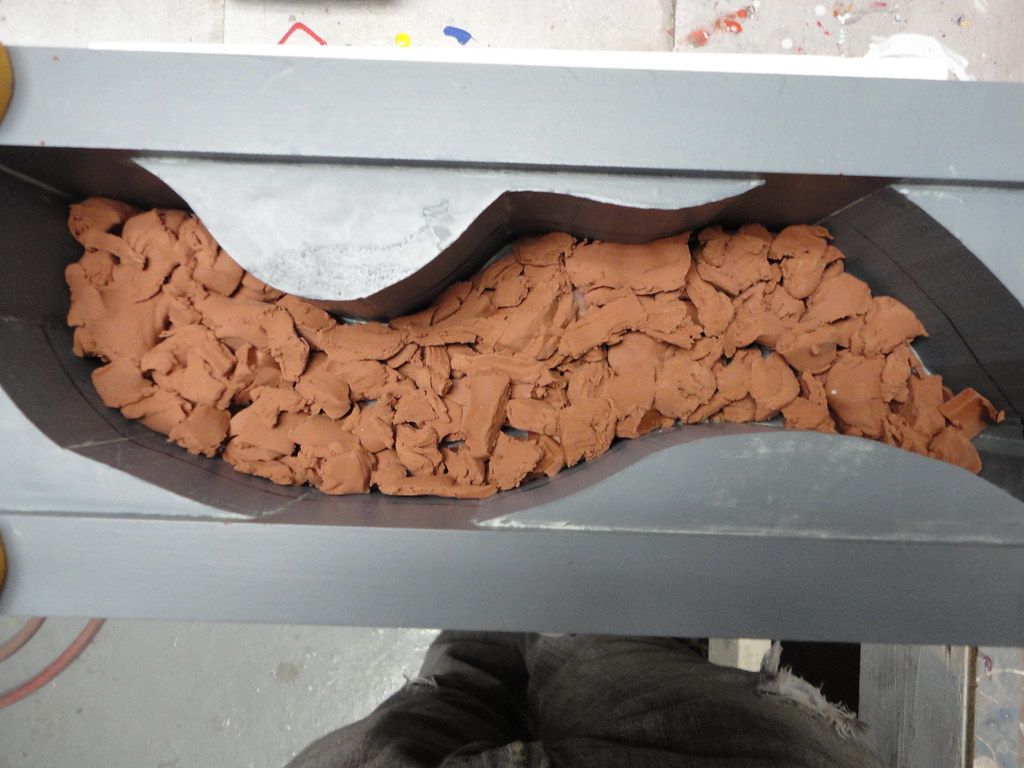
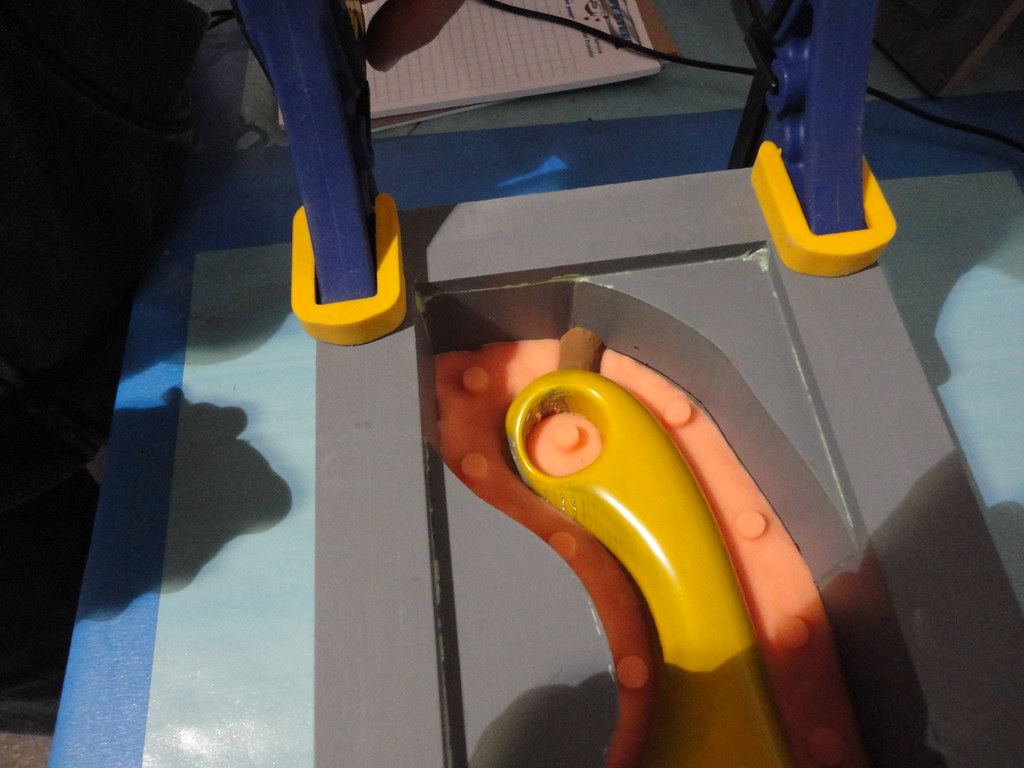
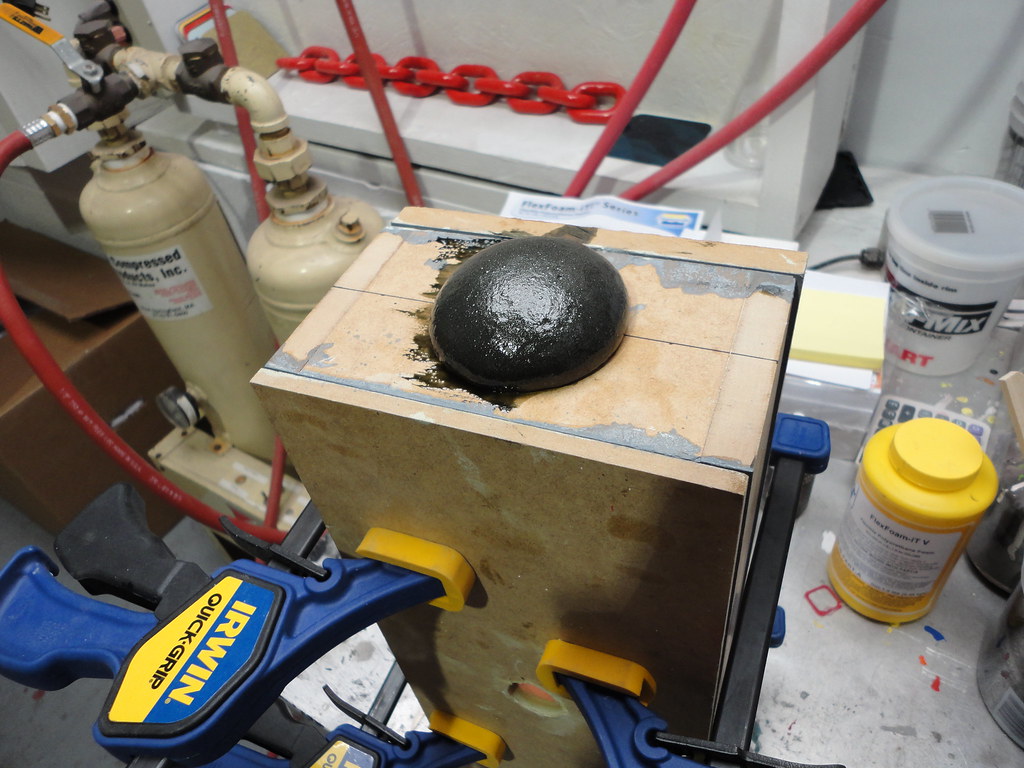
I started out by drilling a pressure release hole through the mold box. This will allow the expanding foam to go somewhere. Next, I filled the bottom half of the mold box with bits of (non-sulfur) clay to elevate the knife to the halfway point. After I centered the knife I smoothed out strips of clay to the walls, and, using the dull end of a pen knife, I made small impressions to act as register keys.
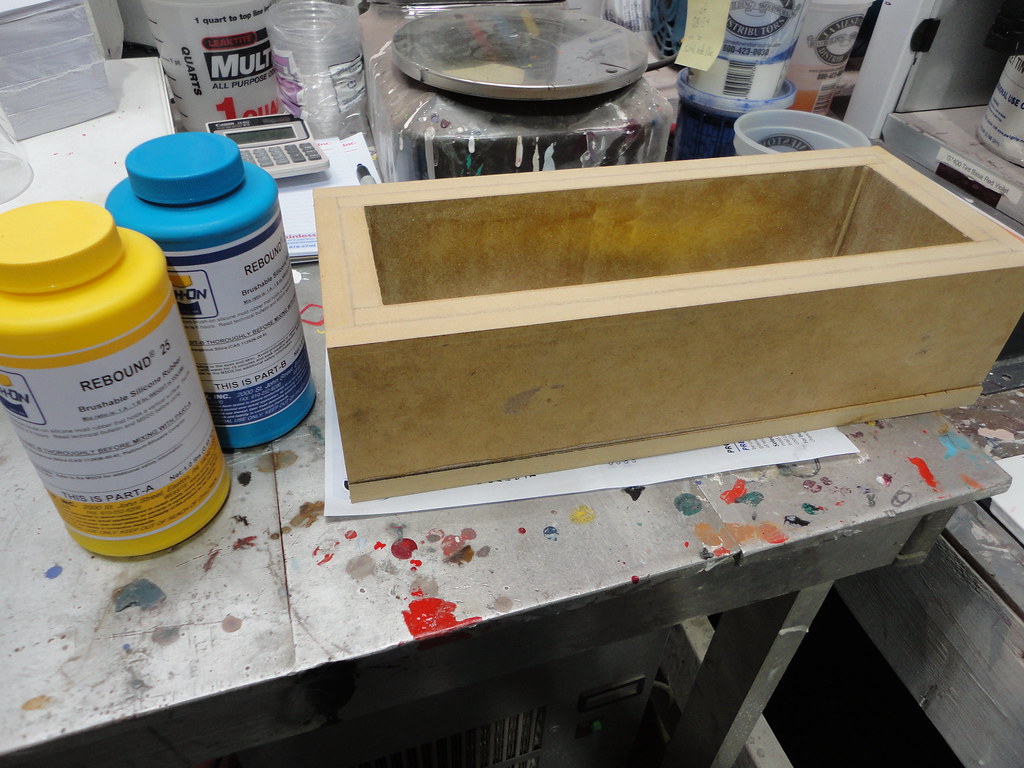
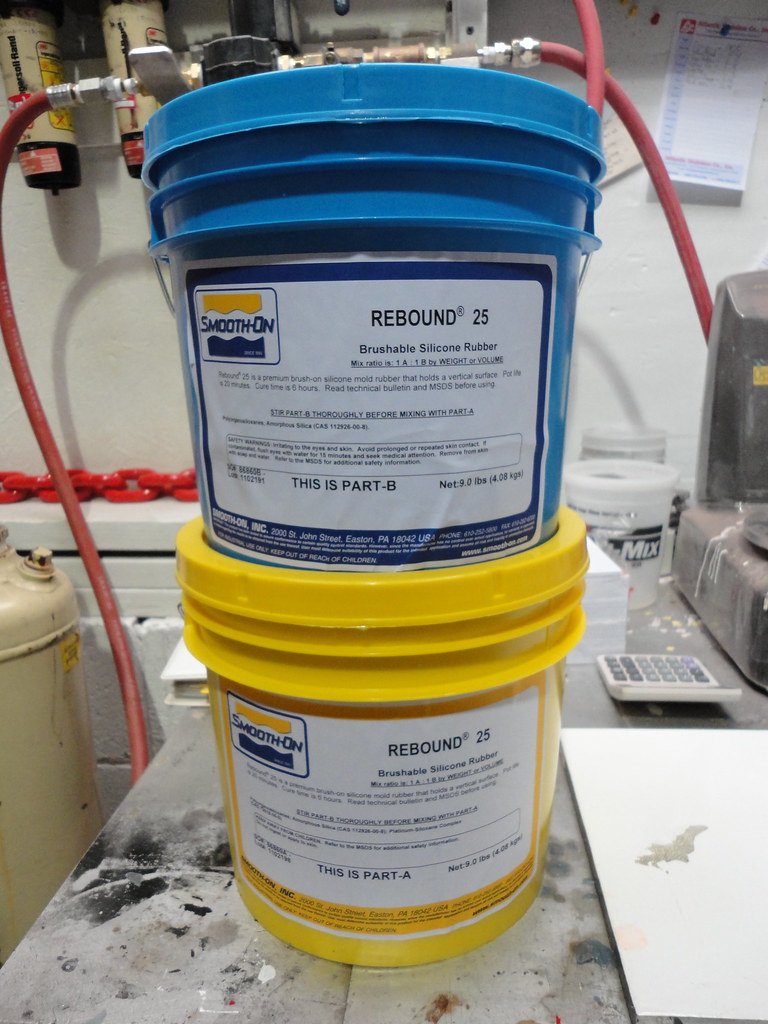
Rebound 25 mixed thoroughly then poured into the mold box
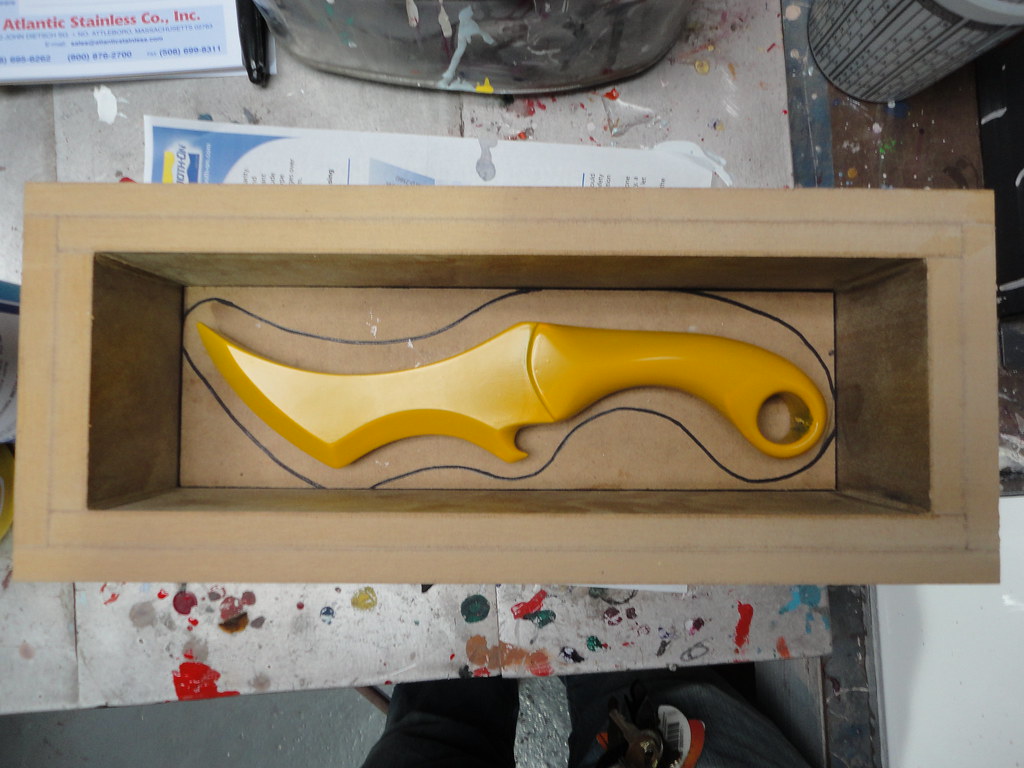
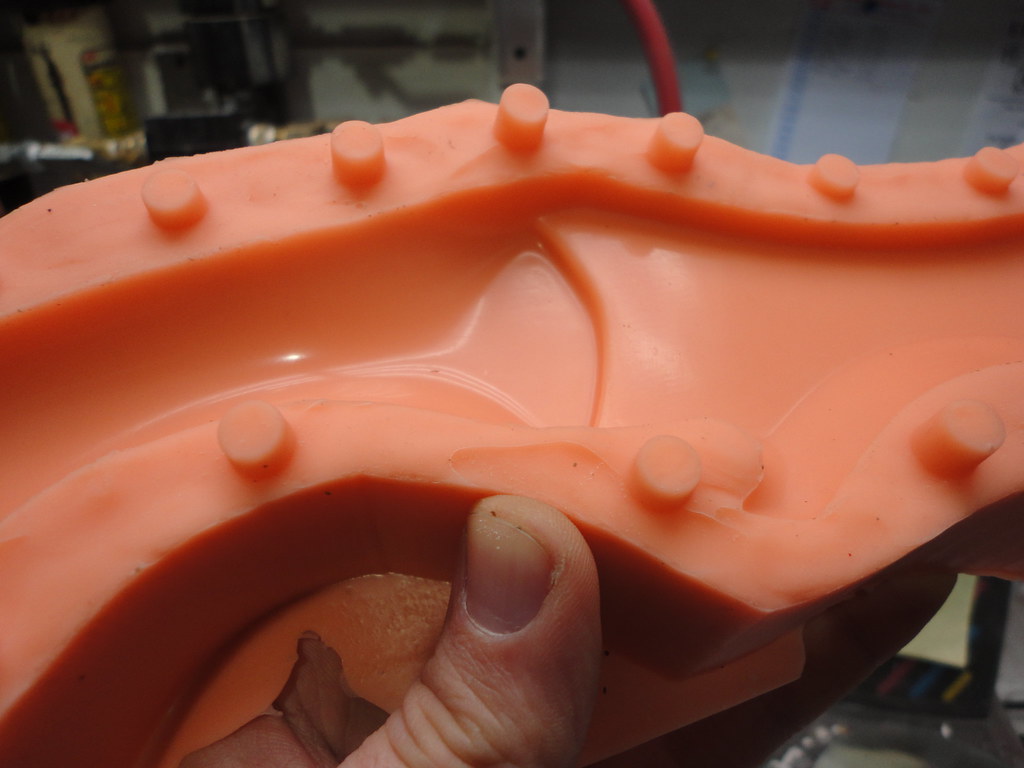
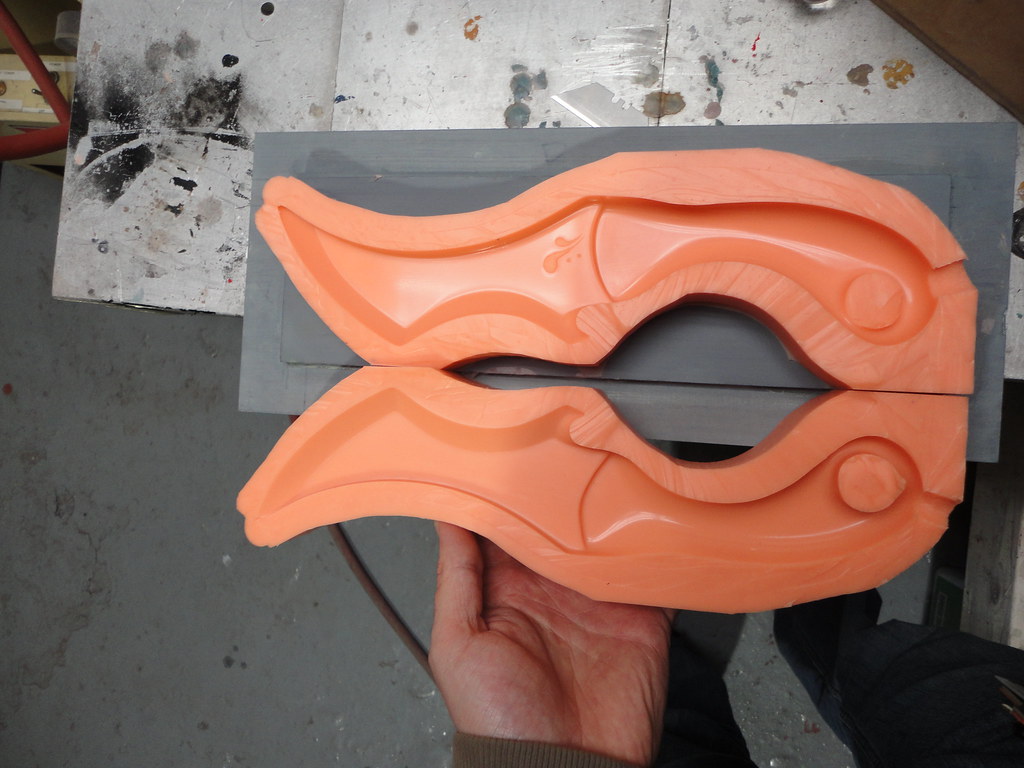
Register key detail on the first half of the mold.
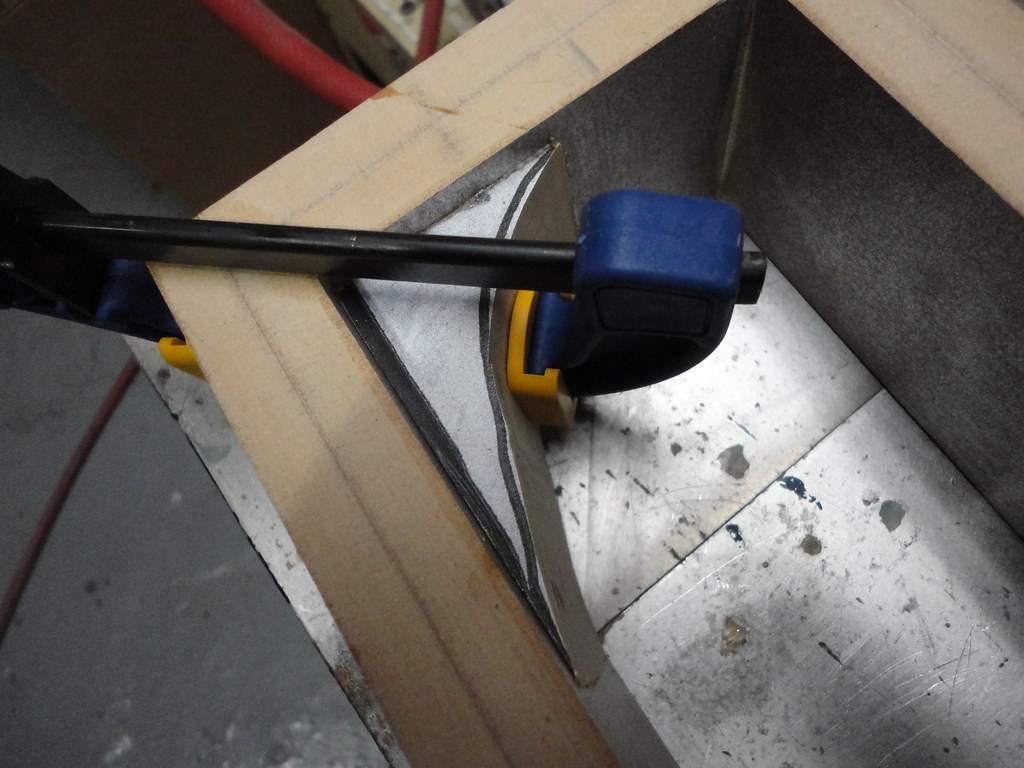
Once the first half of the silicone cured, I used more clay to maintain the pressure release hole when pouring out the second half.
With a lot of resins and silicone materials it is recommended that you use a vacuum chamber to draw out air bubbles that can cause major issues during the casting process. This is called degassing. I didn't do this for the first half of the mold, but I thought I'd give it a try for the second half to see if my results would be any better.
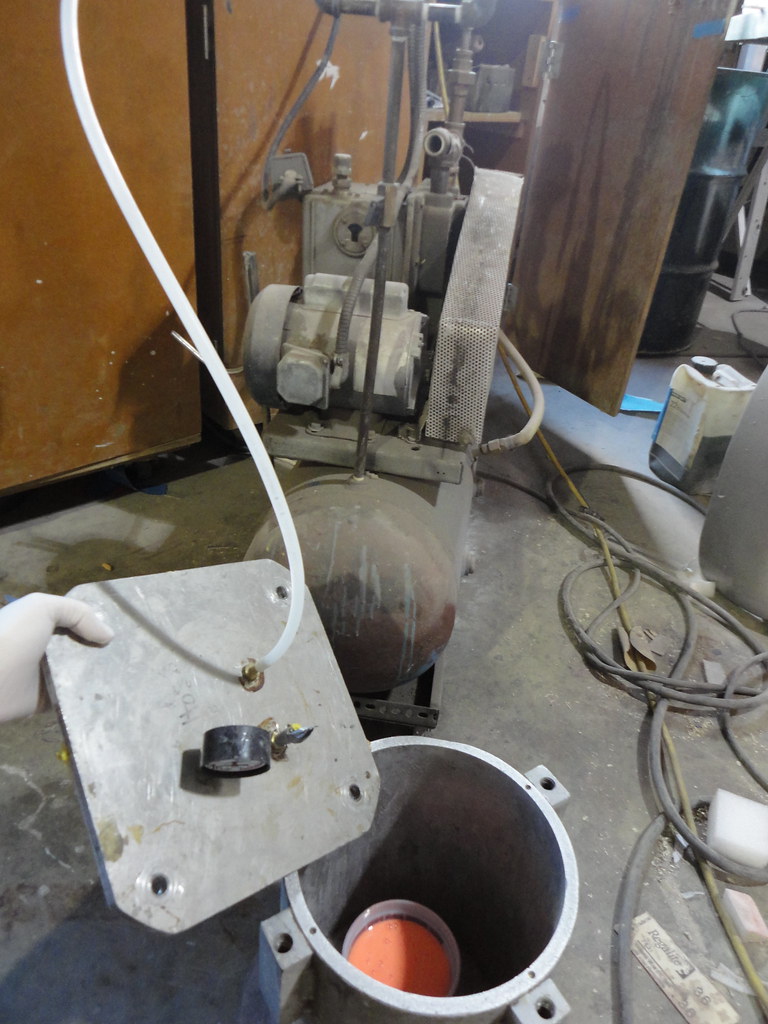
I learned something valuable from this. The vacuum causes the material to rise- almost like bread dough. It's important that you don't fill your container too high... or else you'll be learning the same thing I did too. Wasted material, le sigh.
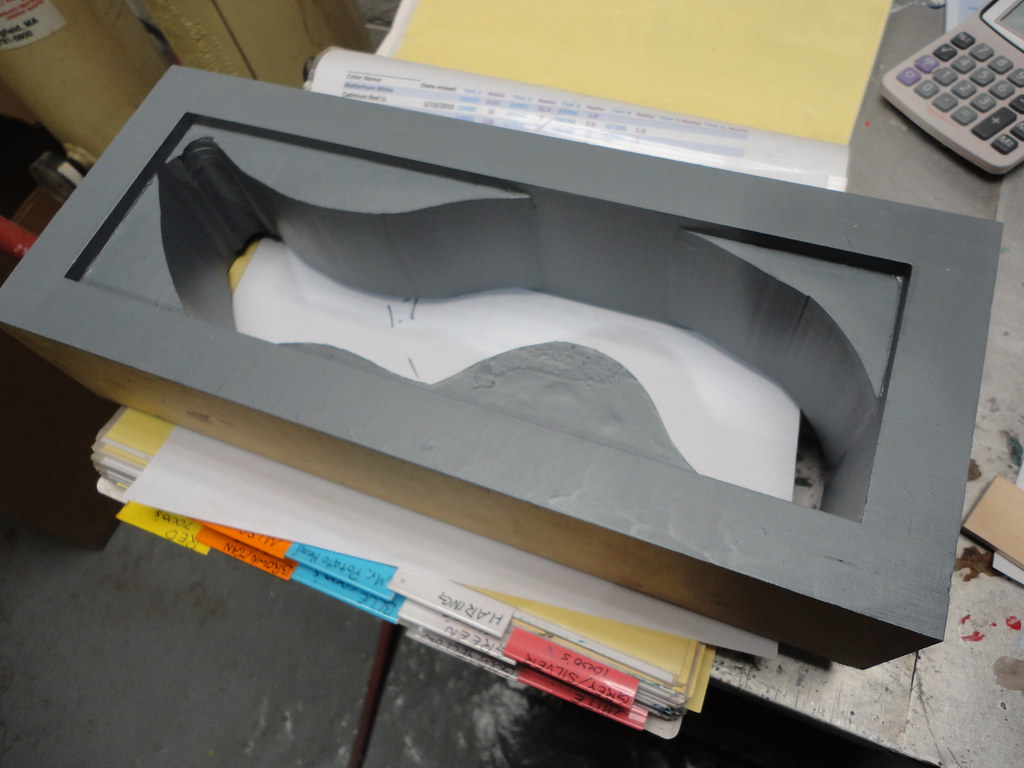
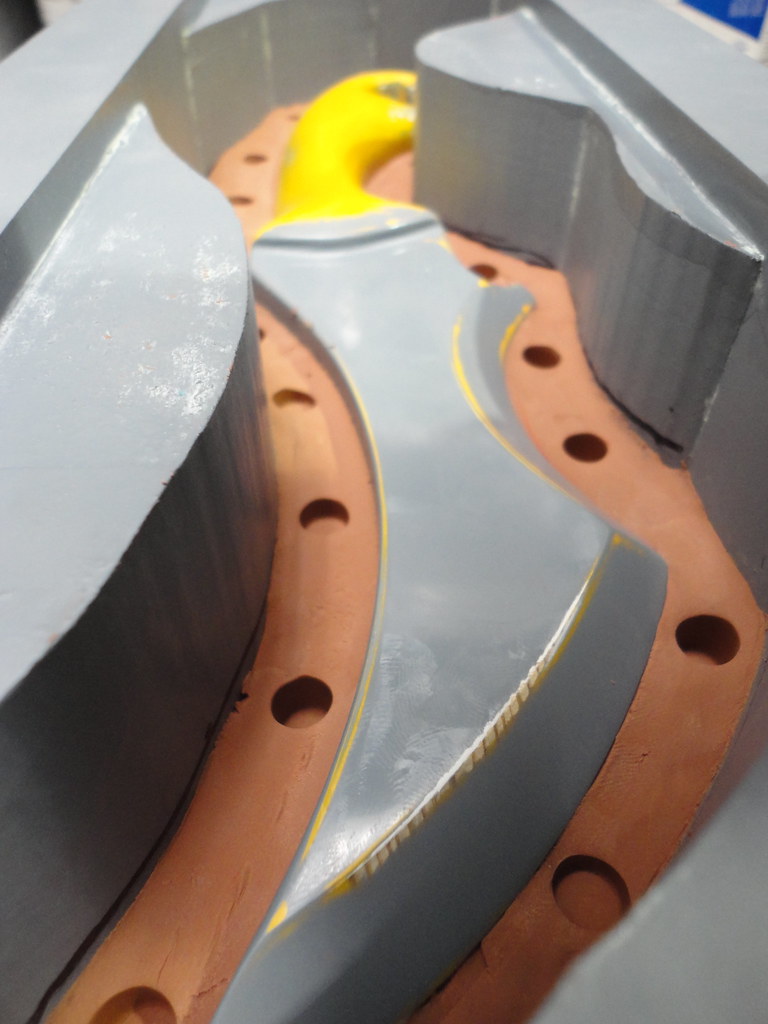
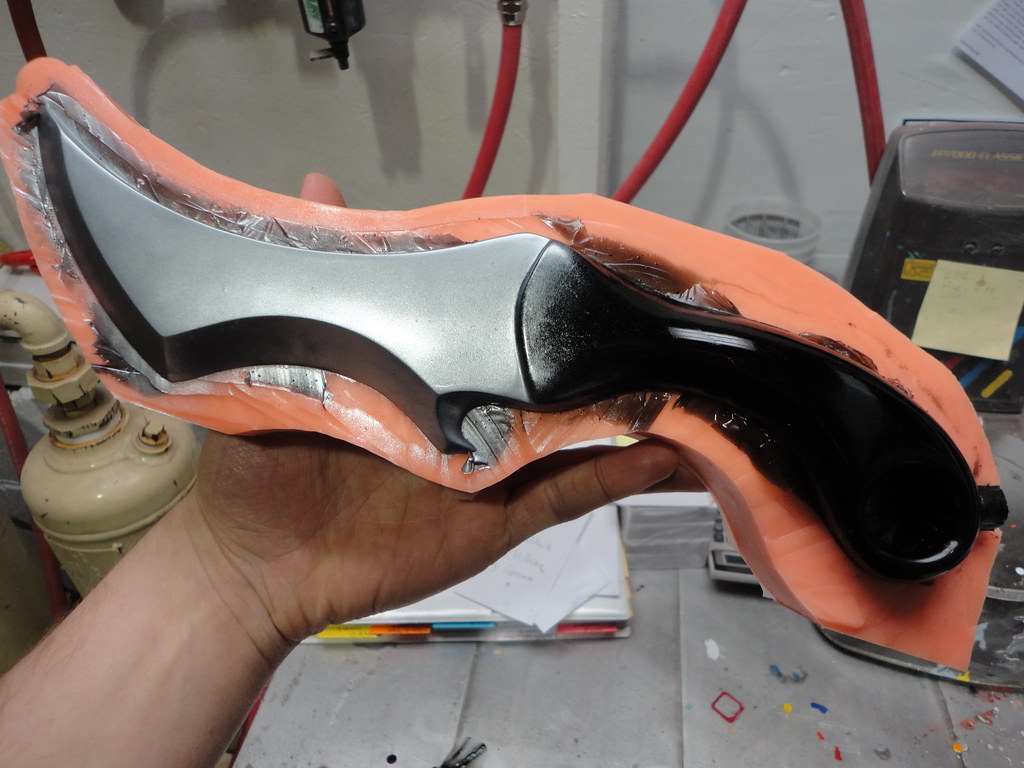
Fuck up #2: After both silicone halves were cured I realized that I didn't use nearly enough (or maybe the wrong) release agent... This caused the silicone to cure to itself (insert angry face here) which meant the mold had to be cut in half with a razor.
Unfortunately this made the register keys nonexistent, however, the mold would still be functional because the tight fitting mold box would still hold everything together.
The first castings -
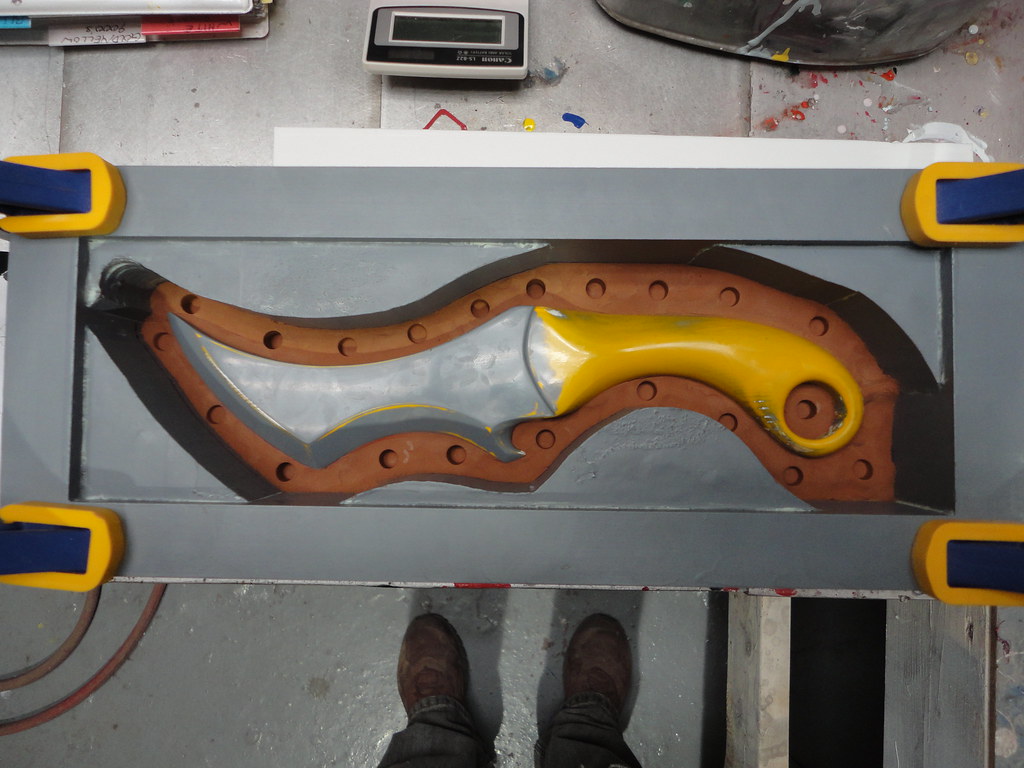
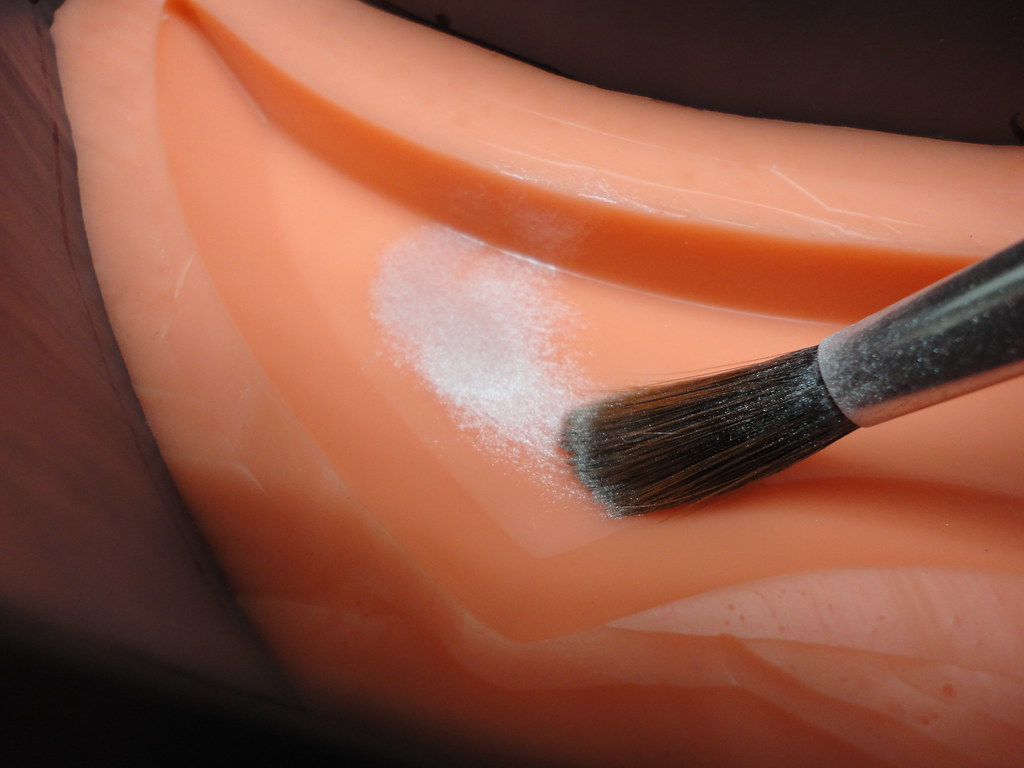
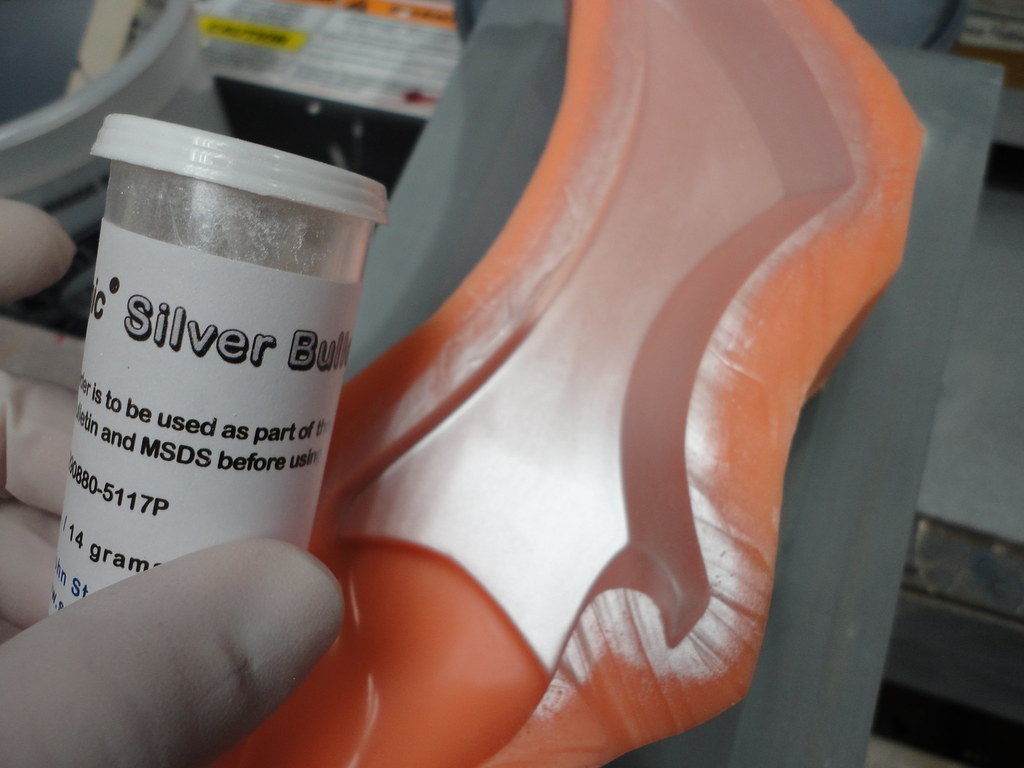
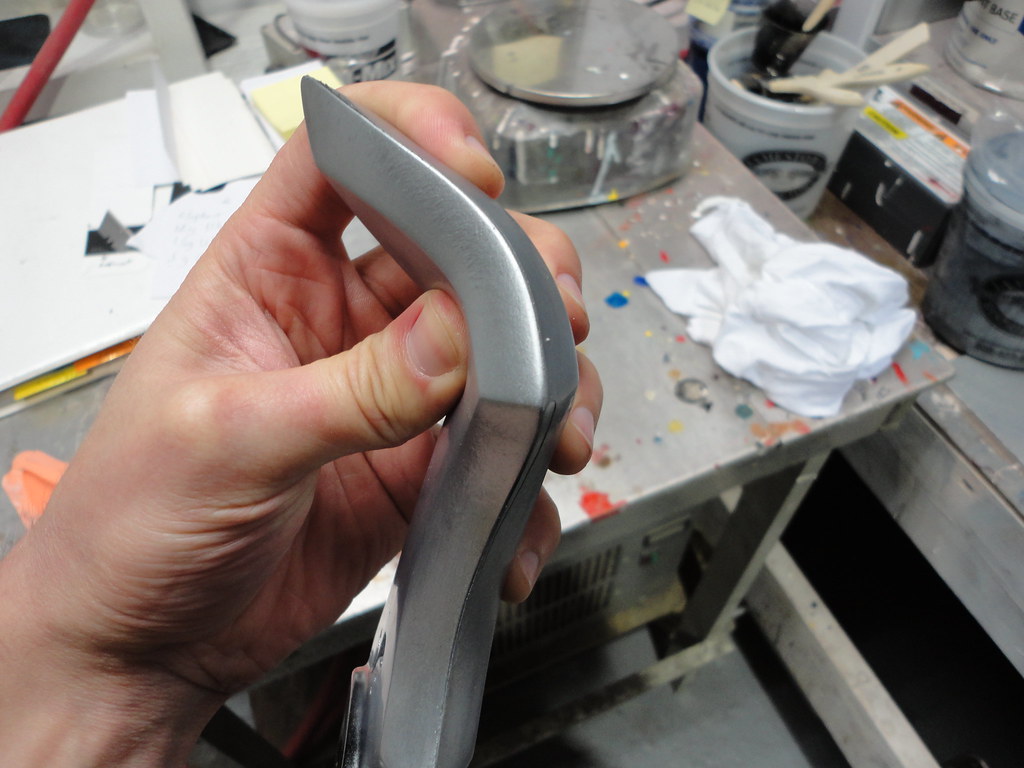
Preparing the the blade section of the mold with a brush on silver powder:
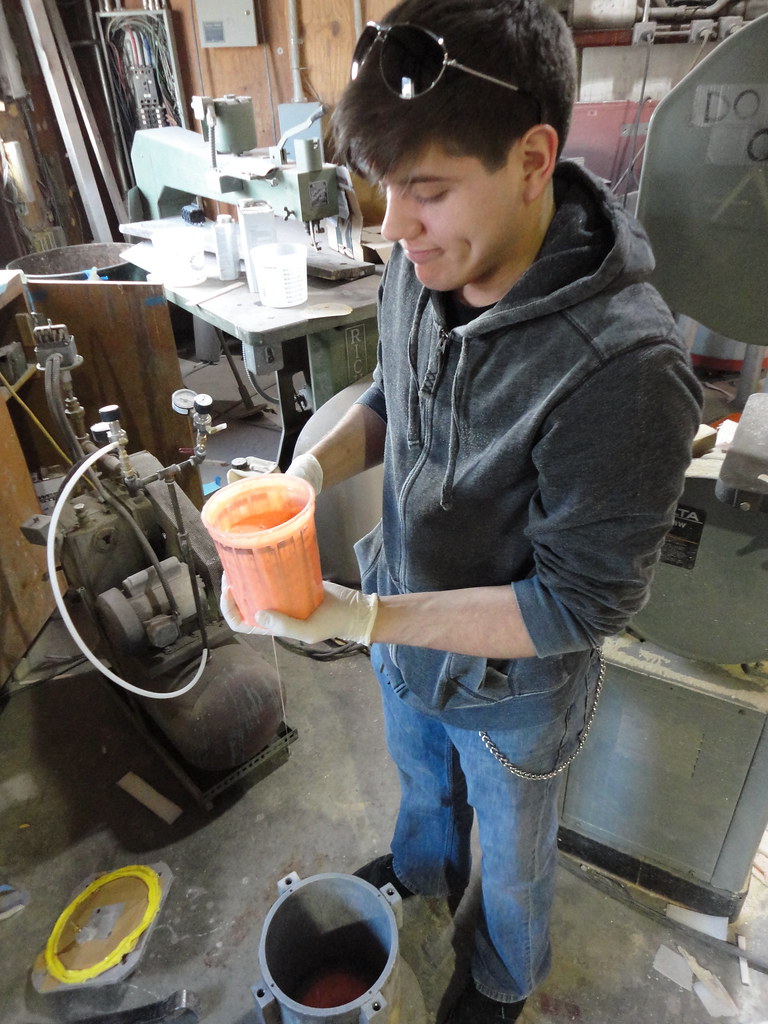
Unfortunately, taking photos of the actual casting process was impossible with only two hands. The working time for the foam was about 50 seconds after mixing, so this was a hectic process.
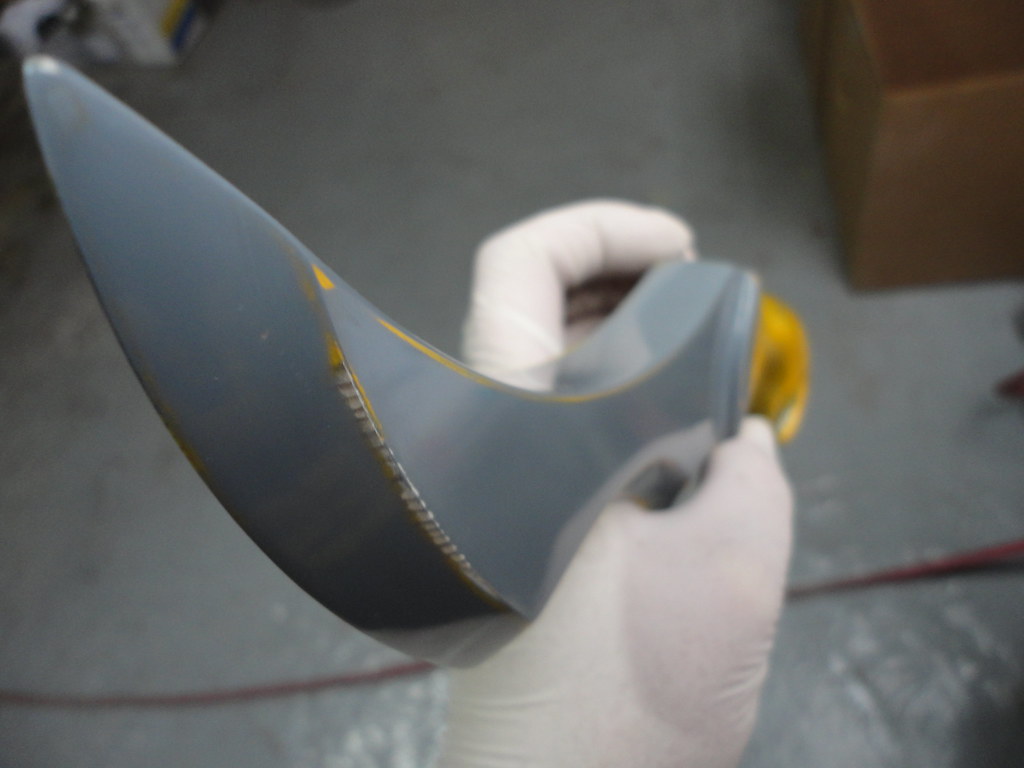
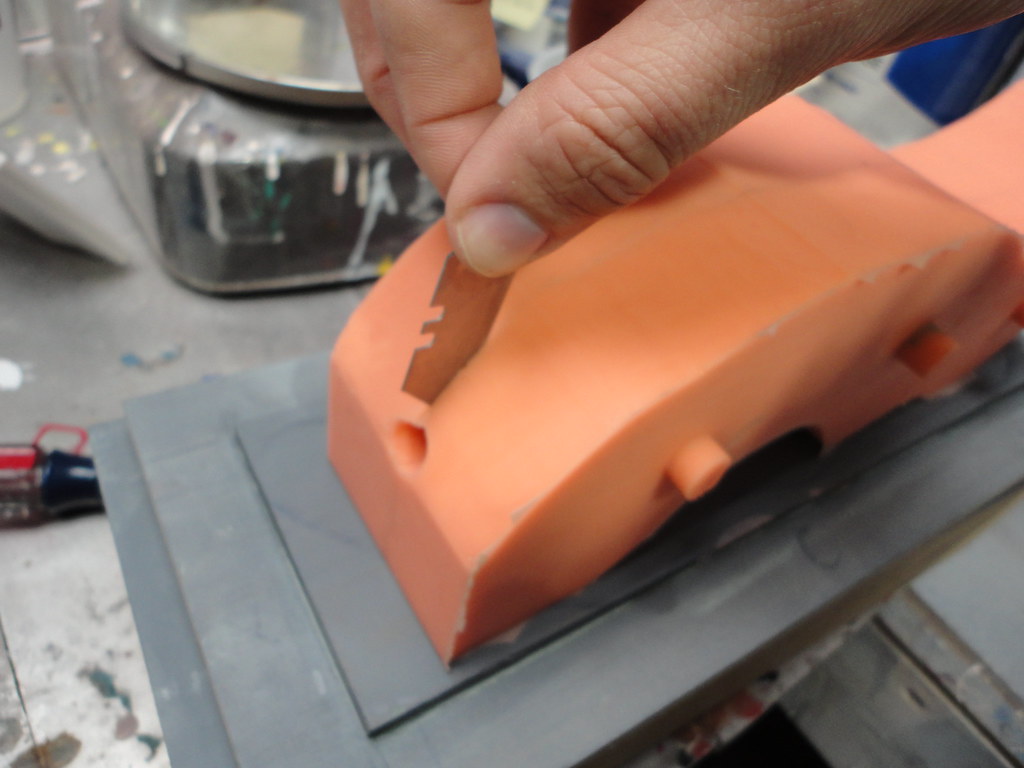
The first casting in all its glory!
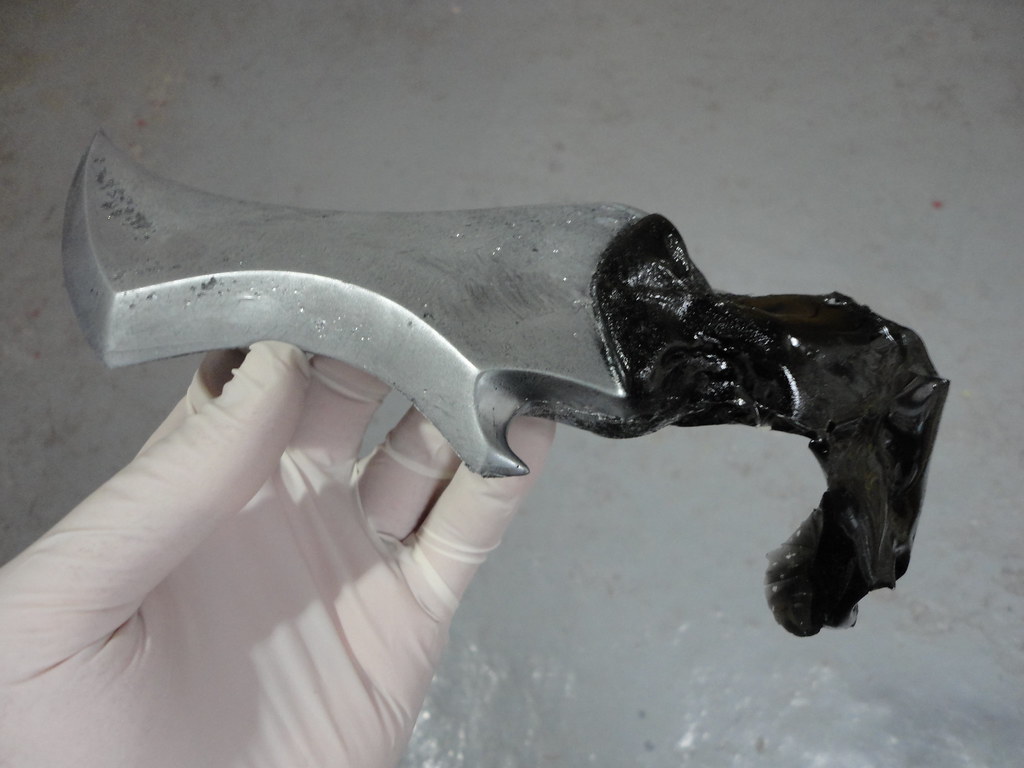
...Remember what I said about learning curves in the first post?
I knew when nothing came out the pressure release spout that I didn't use enough foam; although, the blade on this looks pretty decent for a first try. I'm very pleased the 'gutting hook' detail didn't trap any air bubbles. I thought if anything failed it would likely be that part.
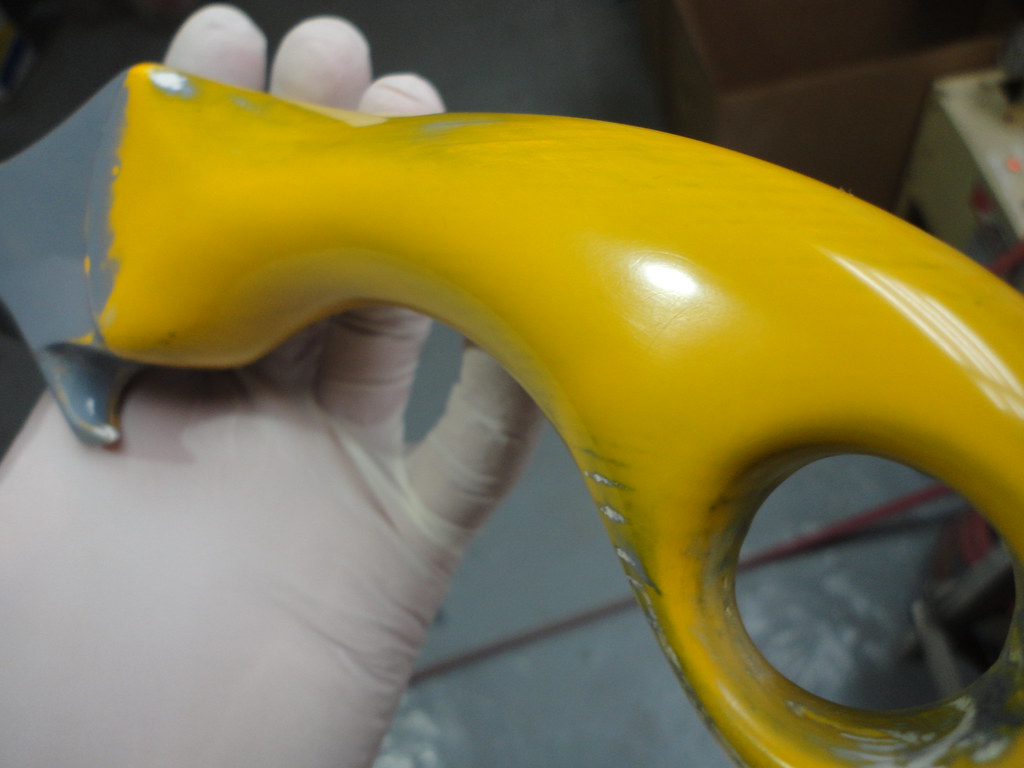
The second attempt was immediately more promising. This is what I was waiting to see the first time.
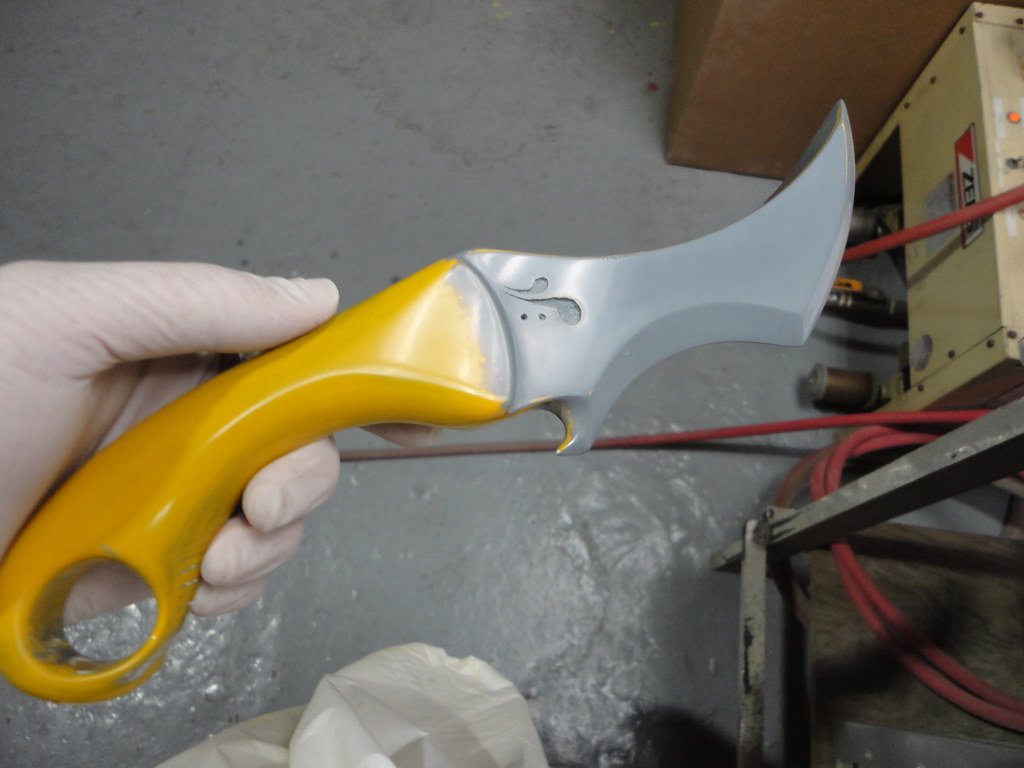
1 hour later...
Still, I have a few more test runs I'd like to try and some minor kinks to work out of the system. All in all, I'm very pleased with the results thus far.